
What is the best way to acclimate new saltwater fish?
 Curated byKory White · Fractional CRO · Maryland
 PULSEKNOWLEDGE LIBRARY
The best way to acclimate new saltwater fish is a slow drip: float the sealed bag 15–20 minutes to match temperature, move the fish and bag water into a clean container, then drip tank water at 2–4 drops per second for 45–90 minutes until volume triples. Net the fish across, discard the bag water, and keep lights off.
What acclimation actually is, and why the stakes are higher in saltwater
Acclimation is the controlled equalization of three variables — temperature, pH, and salinity — between the water a fish arrived in and the water it will live in. In freshwater, only the first two really bite. In saltwater, salinity is the third axis, and it is the one that kills. A marine fish is hypo-osmotic to its environment: the ocean is saltier than the fish's blood, so it constantly loses water across its gills and skin and compensates by drinking seawater and excreting concentrated salt through chloride cells. That machinery is tuned to a narrow specific-gravity band. Drop a fish from 1.020 into 1.026 in one motion and every cell in its body starts shedding water at a rate the kidneys and gills were not calibrated for. The fish does not die of "salt." It dies of an osmotic shock that fractures its electrolyte balance over the following 24 to 72 hours, often long after the hobbyist has declared the introduction a success.
The second reason saltwater raises the stakes is what has happened to the fish *before* it reaches your door. A wild-caught tang may have been collected, held in a collector's net pen, trucked, held again at an exporter, flown across an ocean, held at an importer, shipped to a retailer, held in a store system, then bagged again for you. That is five to seven separate handling events across ten to twenty days. Each one costs slime coat, body weight, and immune reserve. By the time the bag is in your hands, the fish is frequently 10–20% lighter than it was on the reef and running on an immune system that has been suppressed by weeks of cortisol. Acclimation is not just parameter matching. It is the last, most controllable step in a long chain of insults, and it is the only link in that chain you own.
Third, there is the pH-ammonia interaction that makes bag water uniquely dangerous. Inside a sealed bag, the fish respires, CO₂ accumulates, carbonic acid forms, and pH falls — often from 8.2 down into the 7.4–7.7 range over 24 hours of transit. That acidification is, perversely, protective: ammonia excreted by the fish exists in equilibrium between toxic free ammonia (NH₃) and relatively harmless ammonium (NH₄⁺), and low pH pushes that equilibrium hard toward ammonium. Open the bag, and gas exchange begins immediately. CO₂ off-gasses, pH climbs back toward 8.0+, and a meaningful fraction of that stored ammonium converts to free ammonia within minutes. This is why an open bag sitting on the counter for forty minutes is far more hazardous than a sealed one, and why every serious acclimation protocol either moves fast once the bag is opened or aerates and dilutes aggressively. It is also the single best argument against the old "float and dump" method that many stores still recommend.
Understanding those three mechanisms changes how you read every piece of advice you will encounter. When one source says forty-five minutes and another says three hours, they are not disagreeing about biology; they are weighting the salinity gradient against the ammonia clock differently. A one-point salinity gap and fresh bag water argues for speed. A five-point gap and day-old shipping water argues for a longer drip with aeration and, ideally, an ammonia-binding conditioner added the moment the bag opens.
The step-by-step drip protocol, start to finish
Set up before the fish arrives, not after. You want a clean 2–5 gallon bucket or specimen container dedicated to acclimation and never used for soap, a length of rigid airline tubing, a control valve or a simple loose overhand knot in the line, a small heater or a warm room, an airstone with a pump, a refractometer, and a soft net sized to the fish. Calibrate the refractometer with 35 ppt solution first — an uncalibrated refractometer is the most common source of a "mystery" salinity mismatch, and they drift meaningfully with temperature and age.
Float, dark, sealed — 15 to 20 minutes. Dim the room, turn the display lights off, and float the unopened bag in the tank. Temperature equalizes across the plastic without any exchange of water, so nothing in the bag chemistry changes. Twenty minutes closes a 4–6°F gap in a typical bag. If the bag arrived genuinely cold — winter shipping, 62°F water against a 78°F tank — extend to 30 minutes, or float, then move to a container with a heater and warm at roughly 1°F every three to five minutes. Never accelerate temperature with hot tap water.
Open, test, decide. Cut the bag, pour fish and water into the container, and immediately read specific gravity and, if you have a test kit, ammonia. Those two numbers set your drip rate. A bag at 1.024 heading to a display at 1.026 needs perhaps 45 minutes. A bag at 1.019 — common with wholesalers who ship low to reduce ammonia toxicity and metabolic load — heading to 1.026 needs 90 minutes or more. If ammonia reads above roughly 0.25 ppm, dose an ammonia-binding conditioner in the container now and shorten the total drip, accepting a slightly faster salinity ramp in exchange for less time in toxic water. That trade is almost always the right one.
Tilt and drip. Prop the container so the fish sits in a deep corner with the bag water pooled — most containers hold too little water at the start, and a fish lying in an inch of liquid with its dorsal exposed is being stressed for no reason. Start a siphon from the display with the airline, and set the flow to 2–4 drops per second, which works out to roughly 2–4 ounces per fifteen minutes. Add the airstone on low. Cover the container with a towel. Your target is to triple the starting volume — one gallon of bag water becomes three gallons — which reduces the original water to about 33% and closes roughly two-thirds of any parameter gap. If the container fills before you get there, discard half the volume and keep dripping. Two discard cycles is normal for a large salinity gap.
Transfer, never pour. When the volume target is hit, net the fish and move it into the tank. Do not pour the container in. That water now contains ammonia, dissolved organics, copper residue if the source system was treated, and possibly free-swimming parasites. Netting is fine for most fish; use a container transfer for anything with spines, long filamentous fins, or a delicate slime coat, and use a specimen cup for anything venomous. Leave the display lights off for the rest of the day.
What it costs, how long it takes, and where the money actually goes
The acclimation gear itself is trivial. A refractometer runs the price of a single mid-grade fish and is the highest-leverage purchase in the hobby. Airline tubing and a control valve cost less than a bag of salt. A dedicated bucket costs nothing you do not already own. The real budget question is quarantine, because that is where the time and money concentrate — and where most people quietly opt out.

A functional quarantine tank is a bare 10 or 20 gallon glass box, a heater, a sponge filter that has been running in the display sump for a month to seed bacteria, a lid, a piece of PVC pipe for shelter, and an ammonia test kit. No sand, no rock, no aesthetics — bare bottom, because you need to see waste and because porous rock absorbs medication and makes dosing unpredictable. Assembled from new parts, that is perhaps the cost of two or three mid-range fish. Assembled from a shelf of hobby leftovers, it is nearly free. Against that, weigh what an unquarantined ich or velvet introduction costs: not the price of one fish, but the price of every fish in the display, plus 76 days of fallow time with no fish in the tank while the parasite's life cycle runs out. That asymmetry is the entire argument, and it is why the people who have been in the hobby longest are the most rigid about it.
On timelines, the working numbers look like this. Bag float: 15–20 minutes, 30 for cold shipments. Drip: 45–60 minutes for hardy fish with a small parameter gap, 60–90 for average cases, 90–150 for sensitive species or large salinity gaps. First feeding attempt: 12–24 hours after introduction, and do not panic at a refusal. Normal feeding established: usually 2–5 days; wild-caught specialists like some anthias and butterflyfish can take a week or more. Quarantine observation: a common protocol is 4 to 6 weeks, long enough to cover the incubation and life cycles of the parasites that matter and to establish reliable feeding. If you treat prophylactically — copper for ich and velvet, a praziquantel course for flukes — the treatment periods stack inside that window rather than adding to it. Fallow period for a display that has had ich confirmed: commonly cited at around 76 days at reef temperatures, and that figure is why prevention beats cure by an enormous margin.
There is one more cost worth naming because it is invisible on a receipt: the cost of stocking sequence. Adding fish in the wrong order forces re-acclimation of the whole social structure. The standard practice is peaceful and shy first, semi-aggressive next, and the most territorial species last, so no established fish gets to treat a newcomer as an intruder in its own established territory. Violating that order means you will eventually be rearranging rockwork or removing an aggressor, which is far more stressful for everything in the tank than any drip line you have ever set up.

Where hobbyists get it wrong
Rushing on the assumption that time is the metric. The clock is a proxy. The actual metric is dilution — what fraction of the original bag water remains. Forty-five minutes at a trickle that adds half a cup is worse than twenty-five minutes at a rate that triples volume. Watch the water line, not the timer.
Leaving the bag open and unaerated on a countertop. This is the pH-ammonia trap described above, and it is the mistake that turns a survivable transit into a fatal one. Once the bag is open, the fish is on a clock. Aerate, dilute, or bind the ammonia — pick at least one.
Pouring bag water into the display. Still astonishingly common, still indefensible. That water may carry ammonia, therapeutic copper from a wholesaler's system, tomont-stage parasites, or dinoflagellate cells. There is no upside. Net the fish, dump the water down a drain.

Acclimating under full display lighting. Modern reef LEDs at midday intensity are brutally bright compared to the inside of a cardboard shipping box a fish has occupied for a day. Photophobic species — mandarins, many anthias, most deepwater fish, anything nocturnal — will crash into glass or freeze. Acclimate in the dark, release in the dark, and ramp lights back over two or three days.
Skipping quarantine "just this once." The single-fish exception is the mechanism by which nearly every wipeout begins, because it is always made for a fish that looks healthy. Velvet in particular can incubate invisibly and then kill an entire tank within 72 hours of the first visible spot. A fish that looks fine in a store is evidence about the store's lighting, not the fish's parasite load.
Feeding immediately. A stressed fish that has not eaten in days has a shut-down gut. Food goes in, is not processed, and rots — either inside the fish or on the bottom of a small quarantine tank with limited biological filtration. Wait 12–24 hours, then offer a very small amount of enriched mysis or brine and siphon out anything uneaten.

Trusting an uncalibrated refractometer or a swing-arm hydrometer. Swing-arm hydrometers accumulate salt crystals and bubbles and routinely read half a point off. Half a point is a real osmotic gradient. Calibrate the refractometer with a proper 35 ppt standard, not tap water, and re-calibrate quarterly.
Adding new fish during an existing tank problem. If the display is fighting an algae bloom, a nitrate spike, or an unstable alkalinity swing, acclimation will succeed and the fish will still fail a week later. Stabilize first. Nothing about the introduction protocol can compensate for a system in flux.
Ignoring the invertebrate distinction. Snails, shrimp, starfish, and most corals are osmoconformers — their internal salinity tracks the environment directly, with no regulatory buffer at all. They need *longer* and gentler drips than fish, commonly two hours or more, and they are far less forgiving of a fast ramp. Treating a cleaner shrimp like a clownfish is a reliable way to lose the shrimp three days later.

Choosing your protocol: matching method to species and situation
Not every arrival deserves the same treatment, and the useful skill is triage. Three inputs decide the protocol: how large the parameter gap is, how sensitive the species is, and how degraded the shipping water is.
Hardy, small gap, fresh water. Captive-bred clownfish from a local store, bag at 1.025 against your 1.026, in the bag for an hour. A 20-minute float and a 30–45 minute drip is plenty. Over-acclimating here is a real cost — more time in a bucket, more ammonia exposure, no offsetting benefit.
Average case. Most wrasses, tangs, dottybacks, and cardinalfish arriving from an online retailer after overnight transit. Standard protocol: 20-minute float, 60–90 minute drip with an airstone, triple the volume, into quarantine.

Sensitive species. Mandarins, anthias, butterflyfish, angelfish, most seahorses, pipefish. Extend the drip to 90–150 minutes at a slower rate, keep everything dark, use a container transfer instead of a net, and plan the feeding strategy *before* the fish arrives — a mandarin needs an established pod population or a proven frozen-feeding history, and no acclimation technique substitutes for that. For seahorses specifically, low flow and a hitching post in the receiving tank matter as much as the drip.
Degraded shipping water. Long transit, ammonia above 0.5 ppm, fish breathing hard. Invert the usual priority: bind the ammonia, aerate, and compress the drip to 30–45 minutes even if the salinity gap is wide. Getting the fish out of poison beats a perfect osmotic ramp. Some experienced keepers go further and use a purpose-made transfer — moving the fish directly into a bucket of properly matched, freshly mixed water rather than diluting the bad water at all — which is essentially a very fast, very clean version of the same logic.
Invertebrates and corals. Longer, slower, gentler. Two-hour drips are normal for shrimp and starfish. Corals get a short dip in a coral-specific pest treatment rather than a long drip, since the coral tissue tolerates the salinity change better than a shrimp does but arrives carrying flatworms and nudibranchs that the dip removes.
One adjacent method deserves mention because it sits outside the drip framework entirely: hyposalinity. Some keepers acclimate arrivals directly into a quarantine system held at 1.009 specific gravity, which kills ich by osmotic stress while the fish, being a regulator, tolerates it for weeks. This inverts the usual instinct — you are deliberately creating a large salinity gap — but it is done gradually over 48 hours and monitored with a calibrated refractometer, because the therapeutic window is narrow. It is incompatible with any invertebrate and demands stable pH, since low-salinity water has reduced buffering capacity. Treat it as a treatment protocol that replaces standard quarantine, not as a routine acclimation method.

The first 72 hours, and how to read what the fish is telling you
The protocol ends when the fish leaves the net, but the outcome is decided over the next three days. Learn the signals.
Good signs: steady, countable gill beats; fins held open rather than clamped; the fish orienting to the tank rather than pressed into a corner; interest in movement outside the glass by hour twelve; and — the strongest single indicator — a feeding response on the first or second offer. A fish that eats has re-established gut function and has almost certainly cleared the osmotic transition.
Warning signs: rapid or labored respiration that does not settle within a few hours; clamped fins; a pale or washed-out color that persists past the first night; hanging in high flow at the surface, which usually means oxygen hunger or gill irritation; flashing and scratching against rock; and, most urgently, a fine dusting that looks like powdered sugar rather than distinct white salt grains — that pattern is characteristic of velvet, and velvet moves fast enough that hours matter.
Some behavior that looks alarming is normal. Many wrasses dive into sand and stay buried for 24–48 hours. Nocturnal species hide completely through the first daylight period. Newly introduced tangs often display stress bars — dark vertical banding — that fade as they settle. The distinguishing question is trajectory: is the fish moving toward normal behavior day over day, or away from it? A fish hiding on day one and cautiously exploring on day two is fine. A fish that was exploring on day one and is now breathing hard in a corner on day two is not.
Practical management for the first three days: leave display or quarantine lights off for the first full day and run them at reduced intensity and short photoperiod for another two. Reduce flow if you can, especially for anything with elaborate finnage. Do not net, chase, move rock, or run maintenance. Test ammonia daily in a quarantine tank, since a bare tank with a young sponge filter can spike quickly with a new bioload — a small water change is the correct response, not a chemical. If you must medicate, wait until the fish is eating unless the diagnosis is urgent; adding a therapeutic stress on top of an acclimation stress is a bad compound bet.
Finally, keep a log. Date, species, source, arrival salinity and temperature, drip duration, first-feed date, and any treatment. After a dozen entries you will see your own patterns — which suppliers ship in degraded water, which species you consistently struggle to get feeding, whether your 60-minute drips actually outperform your 90-minute ones. That log is worth more than any single technique, because it turns a set of general rules into a protocol calibrated to your specific system, your supplier chain, and the fish you actually keep.
Related questions
How long should a saltwater fish stay in quarantine?
Four to six weeks is the common standard. That window covers the incubation and life cycles of the parasites that matter most, allows any prophylactic copper or praziquantel treatment to complete, and gives you time to confirm the fish is feeding reliably before it competes in the display.
Can I acclimate several fish in the same container?
Only if they arrived from the same source and are compatible — a group of chromis or the same shipment of small wrasses, for example. Never combine territorial or aggressive species, and never combine fish from different suppliers, since that defeats the isolation quarantine is meant to provide.
Is drip acclimation necessary for invertebrates too?
More necessary, not less. Shrimp, snails, and starfish are osmoconformers with no internal salinity regulation, so they need slower and longer drips than fish — commonly two hours or more. Corals are usually pest-dipped instead of drip acclimated for a long period.
What if the fish looks dead in the bag?
Do not assume it. Fish in cold, oxygen-depleted bags often appear motionless or lie on their side. Open the bag, aerate immediately, and begin a compressed acclimation. Recovery within twenty to thirty minutes is common; if there is no gill movement at all after that, it has passed.
Should I ever skip the float step?
Only when temperature already matches — a bag from a local store carried home in a warm car may arrive within a degree of your tank. If so, open and drip immediately rather than floating a sealed bag longer than necessary, since a sealed bag's water quality only degrades with time.
FAQ
How long should the drip acclimation take?
For most saltwater fish, 45 to 90 minutes after a 15–20 minute float. Sensitive species and wide salinity gaps push toward 90–150 minutes; invertebrates need two hours or more. The controlling factor is dilution, not elapsed time — aim to triple the starting water volume, which reduces the original bag water to roughly a third.
Do I need to keep the lights off during acclimation?
Yes. Fish arrive from a dark box, often after a day or more without light. Full-intensity reef lighting is a significant stressor and causes panic responses in photophobic species. Acclimate in a dim room with a towel over the container, release with display lights off, and ramp lighting back to normal over two or three days.
Can I pour the bag water into my tank?
Never. Bag water accumulates ammonia and dissolved organics during transit and may carry therapeutic copper from a wholesaler's system or free-swimming parasites. Net the fish across — or use a container transfer for delicate species — and discard every drop of the shipping and acclimation water down a drain.
What salinity should I acclimate toward?
Match your own established system rather than any published ideal. Most reef tanks run 1.025–1.026 specific gravity, or roughly 35 ppt. Fish-only systems sometimes run slightly lower. What matters more than the target number is that your refractometer is calibrated with a proper 35 ppt standard — an uncalibrated instrument creates gaps you cannot see.
When should I offer the first meal?
Wait 12 to 24 hours. A stressed fish has a shut-down digestive tract, and uneaten food fouls a small quarantine tank quickly. Offer a very small portion of enriched frozen mysis or brine, watch for a response, and siphon out whatever is left. A refusal on the first attempt is normal; keep offering small amounts daily.
Is quarantine really necessary if the fish looks healthy?
Yes, and "looks healthy" is exactly why it matters. Ich and velvet incubate invisibly, and store lighting hides early symptoms. A single unquarantined fish can force a 76-day fallow period on an entire display. Quarantine also lets you establish feeding, treat prophylactically, and adjust salinity gradually without competition from established tank mates.
Sources
- https://www.liveaquaria.com/article/50/?aid=50 — LiveAquaria acclimation guide, including the standard drip procedure and float times
- https://www.reef2reef.com/ — Reef2Reef community forums, with long-running pinned threads on quarantine protocols, hyposalinity, and copper treatment
- https://reefbuilders.com/ — Reef Builders, industry news and practical husbandry articles on marine fish care
- https://www.advancedaquarist.com/ — Advanced Aquarist archive, technical articles on marine fish physiology and system parameters
- https://www.fishbase.se/ — FishBase, species-level data on natural habitat, depth range, and environmental tolerances
- https://www.thesprucepets.com/saltwater-aquariums-4127411 — The Spruce Pets saltwater aquarium section, beginner-oriented quarantine and acclimation overviews
- https://www.aaas.org/ — AAAS, general scientific reference on osmoregulation and marine physiology background
- https://oceanservice.noaa.gov/ — NOAA Ocean Service, background on seawater salinity, temperature, and reef environments
Related on PULSE
- [Top 10 Aquarium Background Plants for Aquascaping](/knowledge/aq1138)
- [How do you keep a betta and other fish together peacefully?](/knowledge/aq1139)
- [How do you treat velvet disease in aquarium fish?](/knowledge/aq1137)
- [Top 10 Nano Saltwater Corals for Beginners](/knowledge/aq1136)
- [Top 10 Rainbowfish Species for Planted Tanks](/knowledge/aq1134)
@Kory-White- · if Venmo asks, the last 4 of my number are 2012
 pulse-aquariumsTop 10 Anemone Species for Clownfish Tanks in 2027
 pulse-aquariumsHow do you remove ammonia from an aquarium quickly?
 pulse-aquariumsTop 10 Sponge Filters for Fry Rearing and Betta Tanks in 2027
 pulse-aquariumsTop 10 Nano Reef Tanks for Beginners in 2027
 pulse-aquariumsTop 10 Clownfish Varieties for Saltwater Aquariums in 2027
 pulse-aquariumsTop 10 Submersible Pumps for Sump Setups in 2027
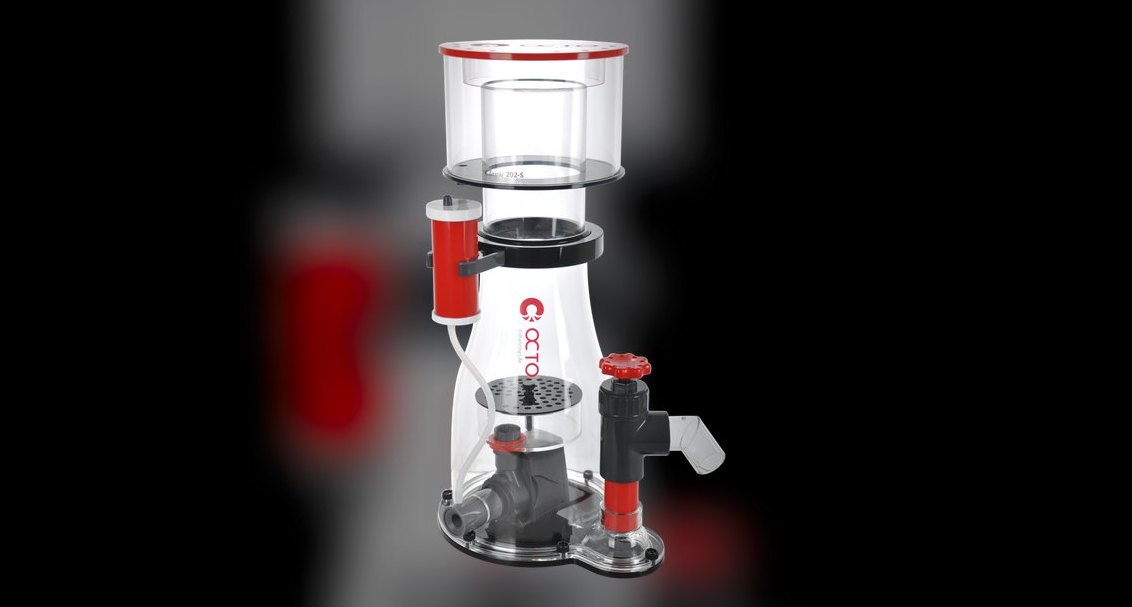 pulse-aquariumsTop 10 Protein Skimmers for Reef Tanks Under 100 Gallons in 2027
 aqTop 10 Aquarium Fish Foods 2027
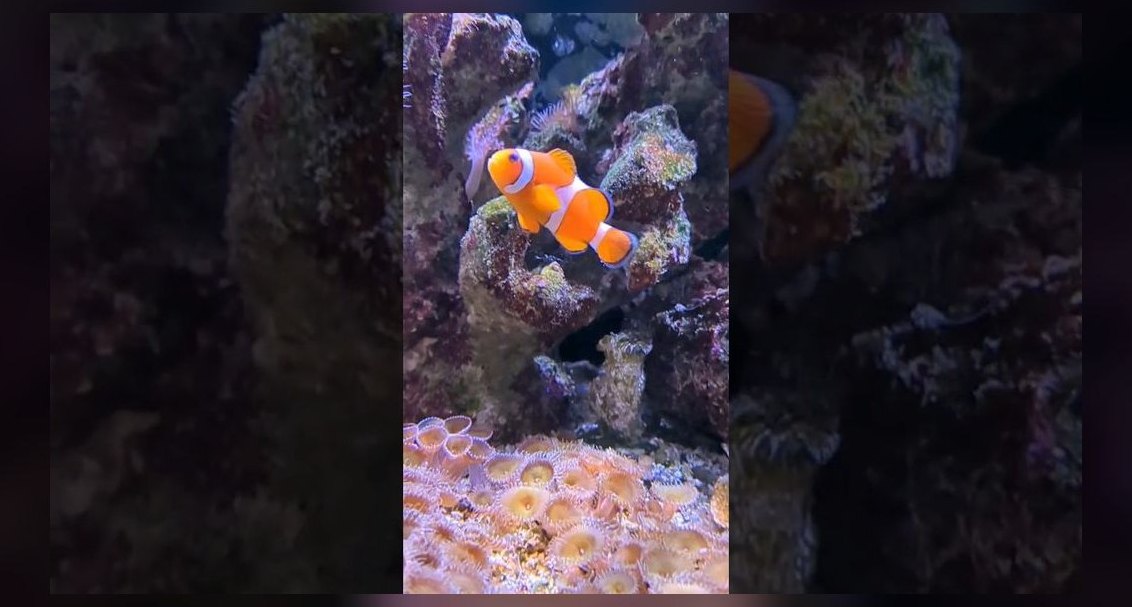 pulse-aquariumsTop 10 Beginner-Friendly Saltwater Fish for Nano Reefs in 2027
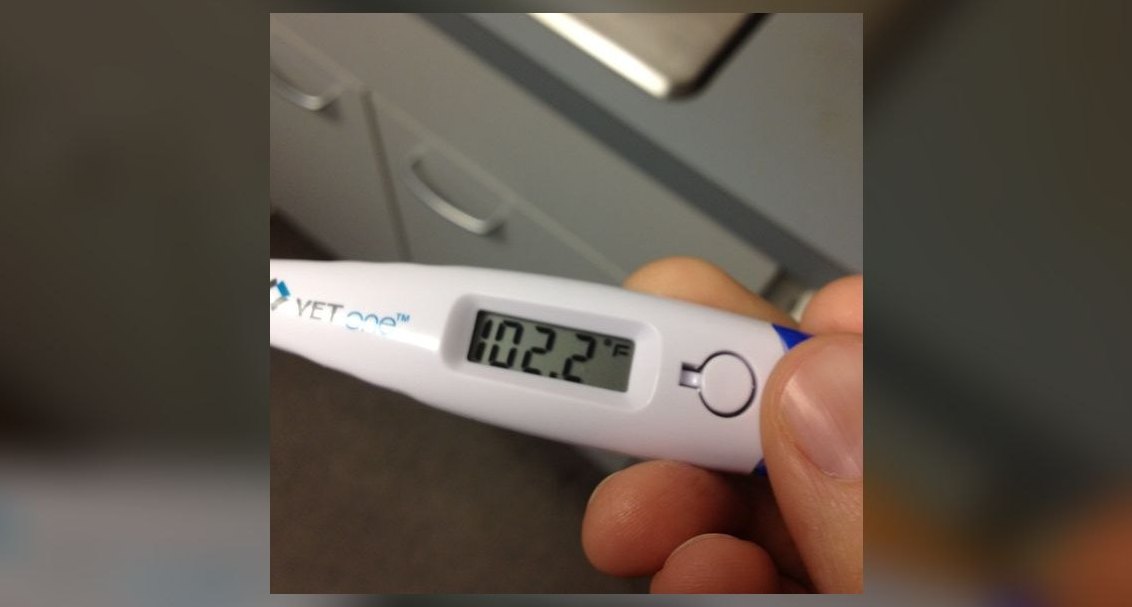 pulse-aquariumsTop 10 Aquarium Thermometers for Accuracy in 2027