


How do I prepare an aluminum fishing boat for the first time in 2027?
Quality
Certified
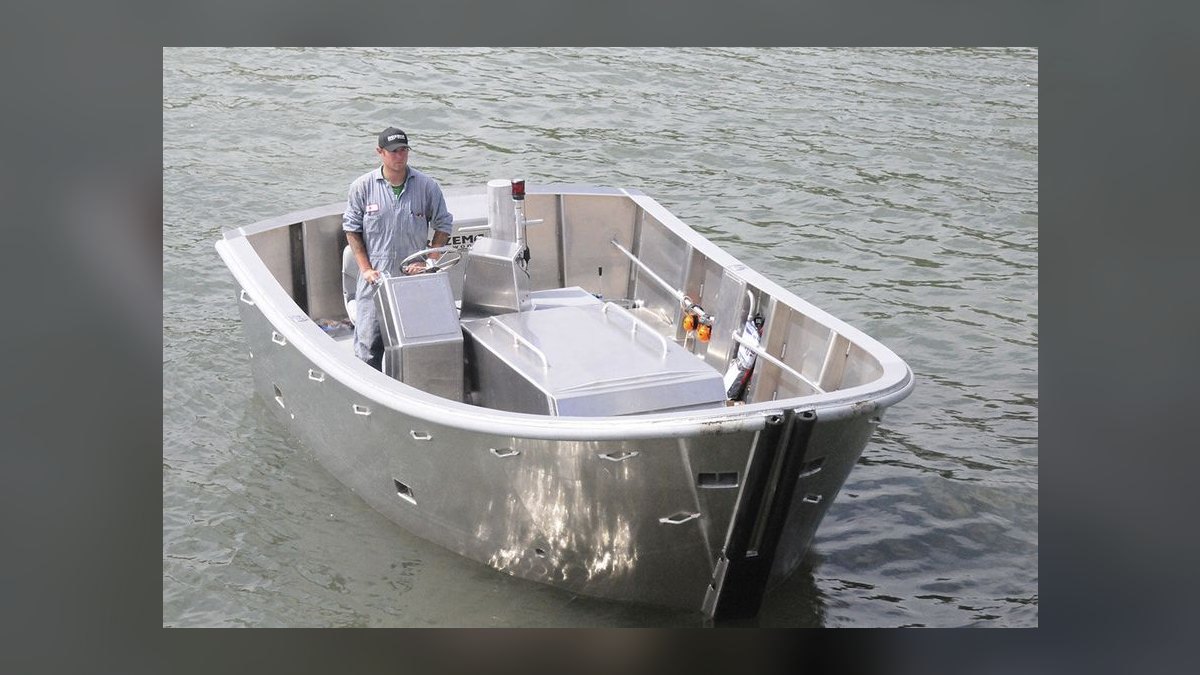
Prepare an aluminum fishing boat the first time by pulling the drain plug and checking the hull for pinholes, cleaning and testing the battery, running the outboard on fresh fuel with a new water-pump impeller, verifying lights, bilge pump, and steering, and confirming registration, life jackets, and trailer bearings before launch day.
Buying prepped versus prepping it yourself
The first real decision most new aluminum boat owners face is not which brand of grease to buy — it is whether to pay a dealer or marine shop to commission the boat, or to do the prep yourself over a few weekends. The two paths produce different costs, different learning curves, and very different failure modes, so it is worth understanding both before you touch a wrench.
Path A: dealer or marine-shop commissioning. If you bought new from a dealer, some version of this is usually bundled: they rig the outboard, set the engine height on the transom, fill and prime the fuel system, register the hull with the state, run the motor on a hose or in a test tank, and hand you a boat that theoretically starts on the first key turn. If you bought used, you can still buy this service à la carte. A shop-level "spring commissioning" or pre-season service on a small outboard typically covers a water-pump impeller replacement, lower-unit gear oil change, new spark plugs, fuel-filter replacement, an anode inspection, and a compression test. Labor rates at marine shops in most U.S. markets run meaningfully higher than automotive rates, and shops are stacked six to ten weeks deep every March through May. That queue is the real cost: if you buy a used aluminum boat in April and hand it to a shop, you may not fish until June.
Path B: doing the prep yourself. An aluminum jon boat, deep-V, or riveted 14- to 18-footer is close to the friendliest possible platform for a first-time DIY owner. There is no gelcoat to compound, no core to worry about rotting, no complicated wet-sanding. The hull is a single material you can inspect visually in twenty minutes. The systems are few: fuel, battery, bilge, lights, steering, and — if the boat has one — a livewell. Most first-timers can do a full prep with hand tools, a socket set, a torque-capable wrench for the prop nut, a drill, and a couple hundred dollars in consumables.
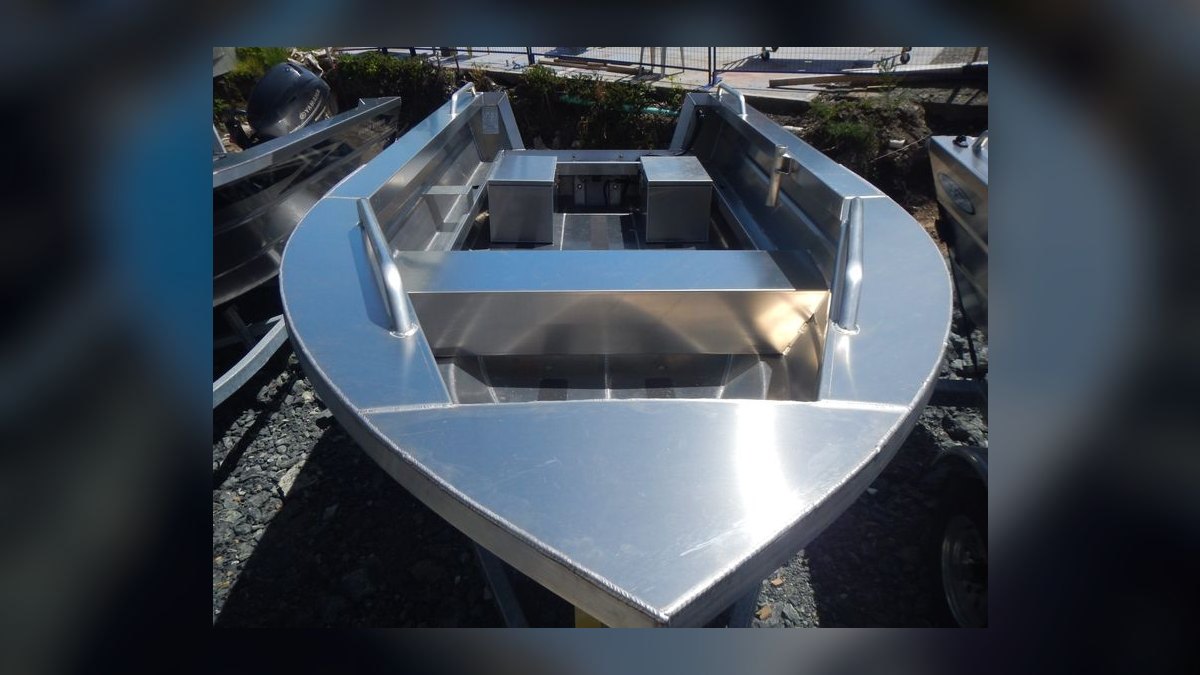
Where the paths honestly split. DIY is the right call for the routine annual items — impeller, plugs, gear oil, battery, wiring, trailer bearings, safety gear. Pay a professional for three things: (1) a compression and leak-down test if you are buying used and have no history on the powerhead, (2) any structural repair to the hull — welded aluminum repair is a real trade and a bad weld on a stress point is worse than the leak it replaced, and (3) rigging changes like repowering or moving the engine height, where getting it wrong causes cavitation, blown seals, or a transom that flexes.
The hybrid most owners land on. Buy a used boat, pay a shop once for a diagnostic — compression test, lower-unit pressure test, and a leak check on the hull — then do every routine item yourself from that point on. You spend a few hundred dollars once to learn whether the boat is sound, and then you own the maintenance forever. The diagnostic also gives you negotiating leverage if you have not yet closed on the purchase: a lower unit with milky gear oil is a seal failure, and seal failures are a known, quotable repair.
A note on adjacent scenarios. The same reasoning applies if you are prepping a fiberglass bass boat, a kayak with a trolling motor, or an inherited pontoon. The material changes what you inspect — fiberglass gets a hull-blister and stress-crack check instead of a rivet check; a pontoon gets tube inspection and deck fastener checks — but the systems list is identical. Fuel, battery, bilge, lights, safety gear, trailer. If you learn the sequence on an aluminum boat, it transfers.
How to decide which path fits your situation
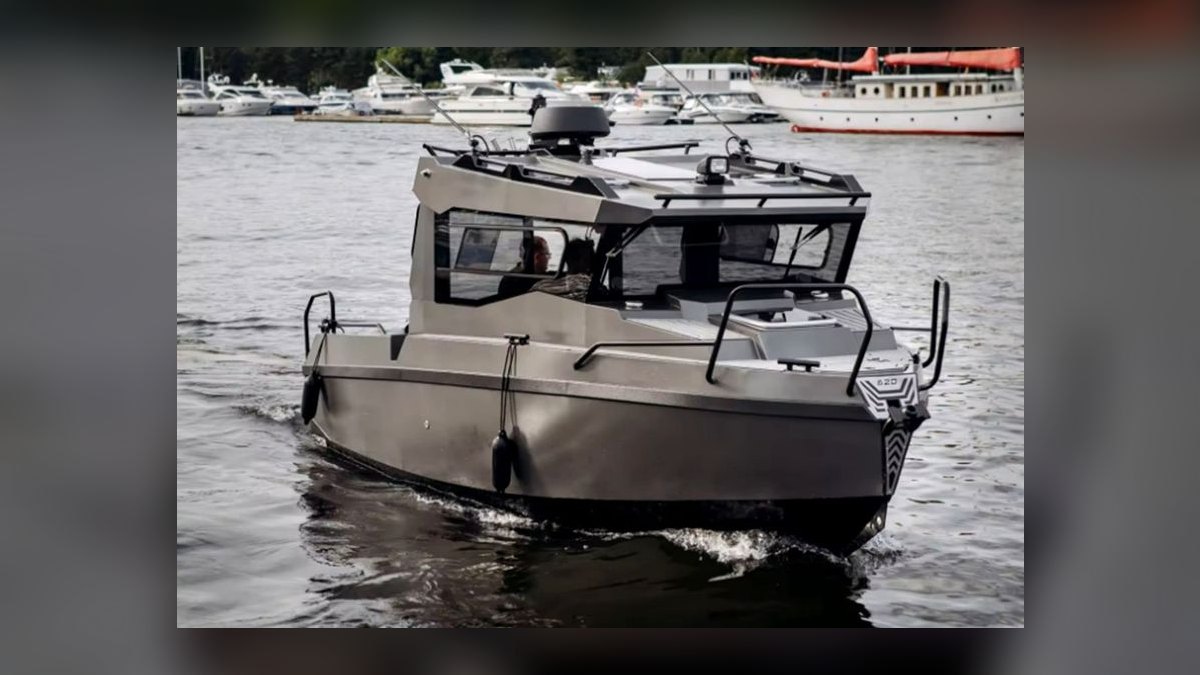
The decision hinges on four variables: how much history came with the boat, whether the hull is riveted or welded, how much time you have before your target fishing date, and whether the boat has been sitting with fuel in it.
History. A boat with a folder — receipts, a service log, the previous owner's name on an impeller invoice from last season — needs far less first-time work than a boat that came off a barn floor with a tarp on it. If you have documentation that the impeller was changed within the last two seasons and the boat ran this year, you can skip straight to inspection and fluid checks. If you have nothing, assume nothing was done.
Riveted versus welded. Riveted hulls — common on lighter jon boats and older utility hulls — will eventually weep at rivets that have worked loose from years of trailering and wave slap. This is normal and fixable with a rivet-setting tool or replacement closed-end bucked rivets, but you need to find the weepers before launch day, not after. Welded hulls do not have this failure mode but can crack at high-stress points: transom corners, ribs, and around any hole someone drilled for a transducer or bilge fitting.
Time pressure. If your target date is three weeks out, sequence the long-lead items first: order the impeller kit and gear oil, get the trailer bearings apart, and start the fuel-system work. If your target date is next weekend, be honest — pull the plug, test the battery, run the motor on muffs, check the lights, and go fish a small protected lake close to the ramp while you work through the rest.
Fuel that has been sitting. This is the single most common reason a first outing ends with a tow. Ethanol-blended gasoline draws moisture and degrades within a few months. If the tank has fuel of unknown age, drain it, dispose of it at a hazardous-waste facility, and start fresh. This is not optional cost-avoidance; a carbureted two-stroke or small four-stroke with varnished jets will run for ten minutes and then die at the far end of the lake.
The concrete numbers behind each item
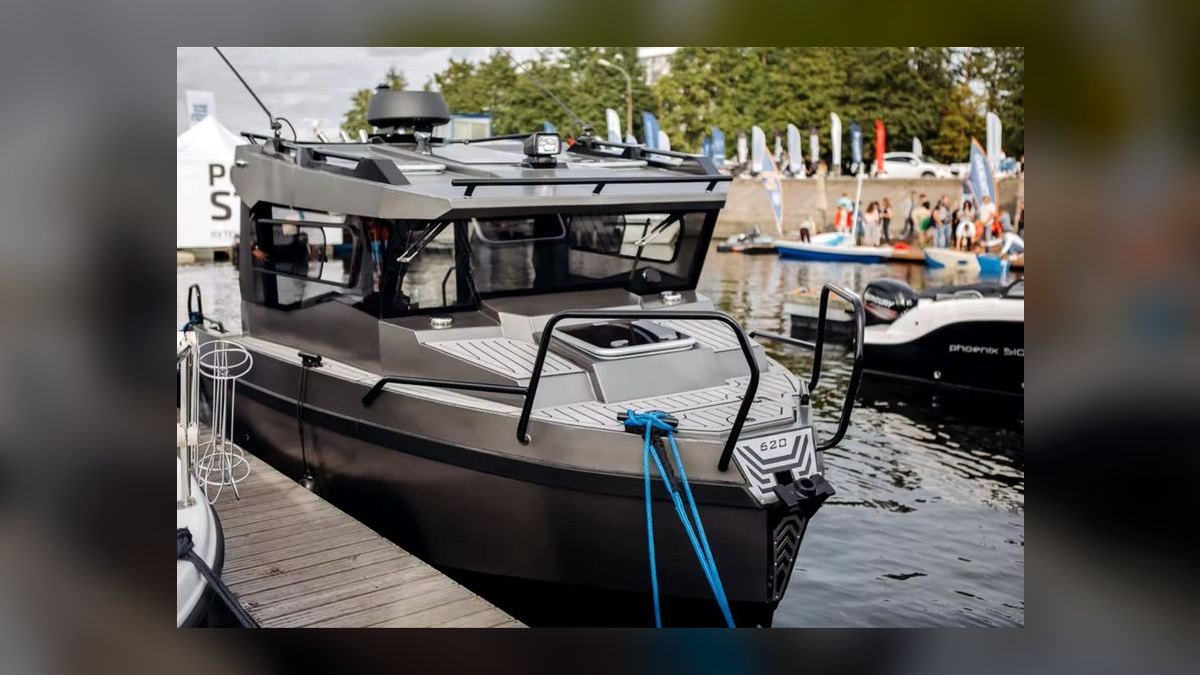
Real budgeting beats vague reassurance. Here is what the individual pieces actually involve, in ranges rather than invented precision — verify current pricing with your local dealer or a marine parts retailer, since parts costs shift year to year.
Water-pump impeller. Manufacturers commonly recommend replacement on a schedule measured in seasons or running hours — typically every one to three years, or roughly every 100 to 300 hours depending on the engine and how much sand and silt the boat runs through. The kit itself is one of the cheaper parts on the engine; the labor is the cost driver at a shop. On a small outboard, the job means dropping the lower unit: remove the shift linkage connection, pull the bolts holding the gearcase to the midsection, lower it clear of the driveshaft, replace the impeller and the wear plate and gaskets, then reassemble with the water-tube grommet seated and the shift linkage reconnected at the right length. Budget two to four hours the first time you do it and half that after.
Lower-unit gear oil. Drain from the lower plug, vent from the upper. The condition of what comes out tells you the state of your seals: clean oil is fine, milky or coffee-colored oil means water intrusion and a seal replacement, and metal glitter beyond a light film on the magnet means gear wear worth investigating. Refill from the bottom until oil appears at the vent hole, then seal the vent first, then the drain. Small outboards take a modest amount — often well under a quart — so buy the correct gear lube for your engine rather than substituting automotive gear oil.
Spark plugs and compression. New plugs are cheap and diagnostic: read the old ones before you throw them out. A dry tan-to-gray insulator is normal; oil fouling, heavy carbon, or a wet plug points at fuel or oiling problems. Compression testing is the one number worth paying attention to on a used purchase. What matters is not hitting a specific universal figure but consistency across cylinders — a cylinder substantially below its neighbors is a flag. Look up the spec in your engine's service manual rather than trusting a forum number.
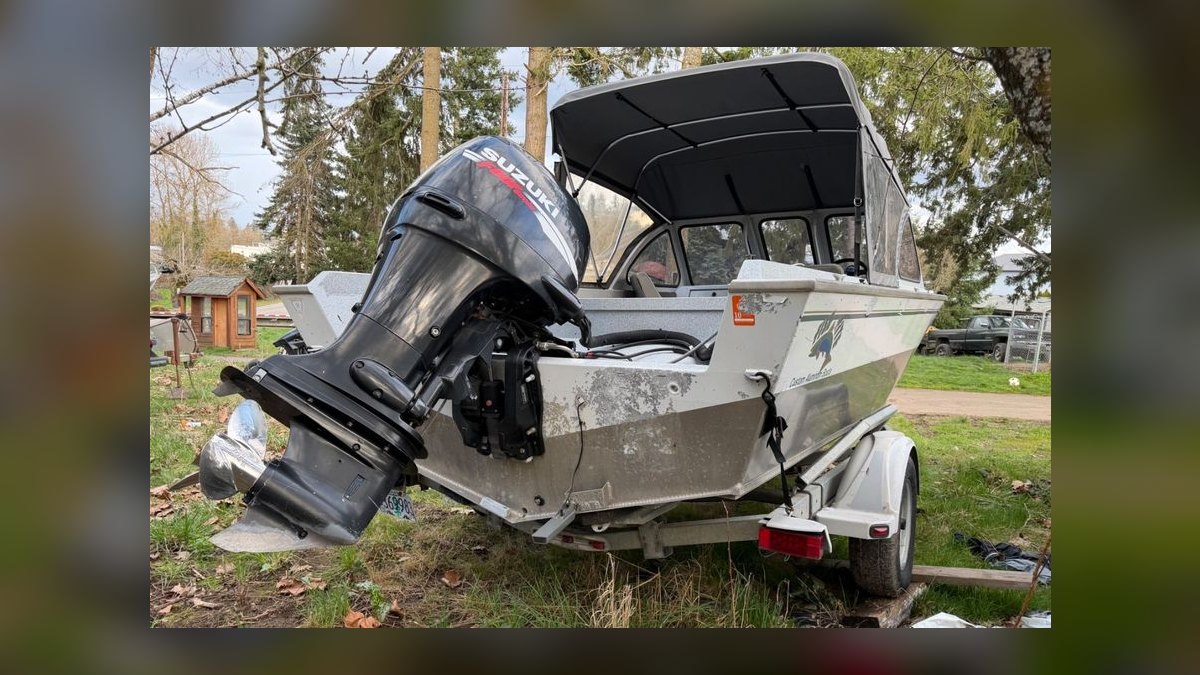
Battery. A flooded lead-acid or AGM marine starting battery generally lasts three to five years. If the boat came with an unknown battery, load-test it before trusting it — a battery that reads 12.6 volts at rest can still fail under cranking load. Clean the terminals to bright metal, apply dielectric grease, and make sure the battery is secured in a box or tray with a strap; a battery sliding around an aluminum hull is both an electrical and a fire hazard. Carry a portable jump pack.
Bilge pump and float switch. Test both. Pour water into the bilge and confirm the automatic switch triggers and the pump moves water out the through-hull. Then check the manual switch on the dash. A bilge pump that has been dry for a year will often spin without pumping because the impeller has taken a set or debris has jammed it.
Trailer. More first outings are ruined by the trailer than by the boat. Repack or replace the wheel bearings, check the tires for dry rot on the sidewalls regardless of tread depth, verify the spare exists and holds air, test every light on the harness with the tow vehicle connected, inspect the winch strap for fraying, check the safety chains and coupler latch, and confirm the bunks or rollers still support the hull where they should. Trailer tires age out on time, not mileage — a tire with full tread that has been sitting in the sun for six years is a blowout waiting for the interstate.
Safety gear — the non-negotiable list. A wearable, correctly sized life jacket for every person aboard; a throwable flotation device on boats of the relevant length; a sound-producing device; visual distress signals where required; a marine fire extinguisher with a current charge if the boat has an enclosed fuel compartment or permanently installed tanks; and navigation lights that actually work if you might be out at dawn or dusk. Requirements vary by vessel length and by state, so check your state boating agency and the U.S. Coast Guard requirements for your specific boat rather than assuming.
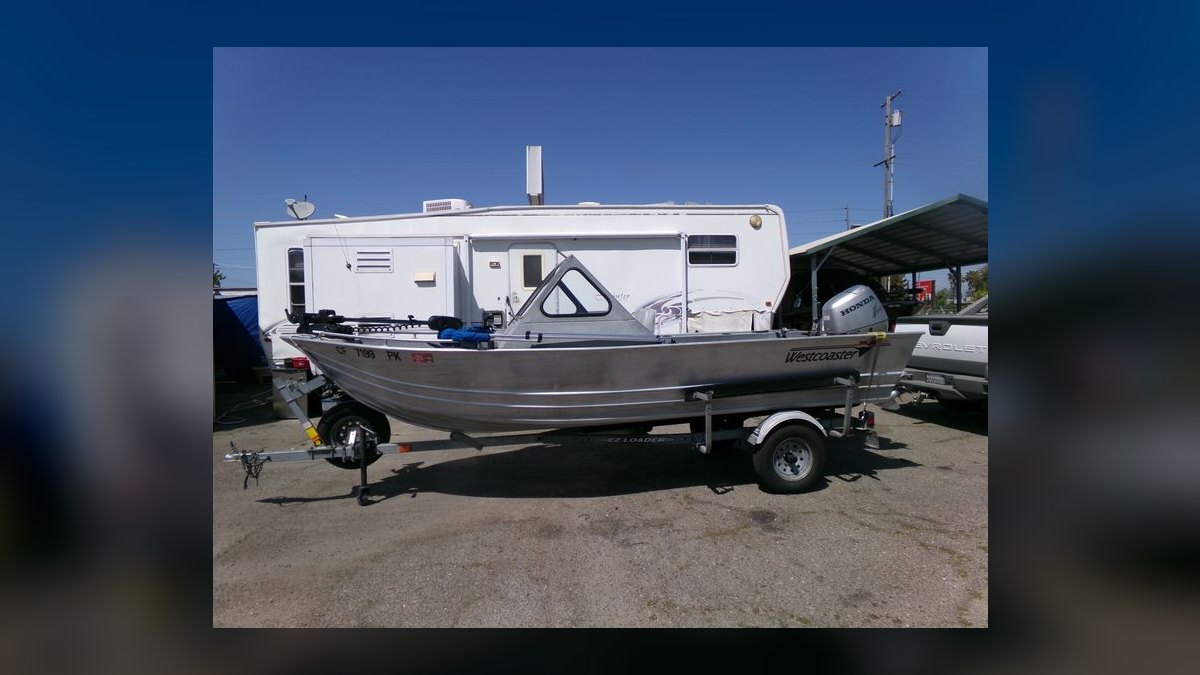
Registration and titling. Every state handles this differently. In general you need the bill of sale, the hull identification number, and either a title or manufacturer's statement of origin, and you will get a registration number to display on the bow plus a validation decal. Do this before you need it — showing up at a ramp with an unregistered hull is an avoidable ticket.
Sequencing the work so nothing blocks anything else
Order matters. Doing the prep in the wrong sequence means discovering a problem after you have already reassembled the thing that hides it.
Week one — inspection and long-lead ordering. Set the boat on the trailer somewhere level and well lit. Pull the drain plug and leave it out. Walk the hull inside and out with a flashlight held at a low angle so it rakes across the metal — that side-lighting reveals dents, oil-canning, hairline cracks, and previous repairs far better than overhead light. Look specifically at the transom (both faces), the keel line, every rib, and around every fastener anyone has ever added. On a riveted hull, look for rivet heads that are darkened, ringed with residue, or slightly proud of the surrounding metal. Note everything on a list, then order parts: impeller kit, gear lube, plugs, fuel filter, anodes, trailer bearings, and a spare prop nut and thrust washer.
Week two — the leak test. This is the step first-timers skip and later regret. Put the boat on the trailer with the plug in, fill the interior with several inches of water from a hose, and watch the outside of the hull for twenty to thirty minutes. Weeping rivets show as beads that grow. Mark each one with a paint pen from the outside. Then drain, dry, and address them: reset loose rivets with a bucking bar and rivet set, replace ones that are damaged, and use a marine-grade sealant appropriate for aluminum on any seam that needs help. Avoid generic hardware-store silicone on a hull seam — it fails and it makes the eventual proper repair harder because the new sealant will not bond to the residue.
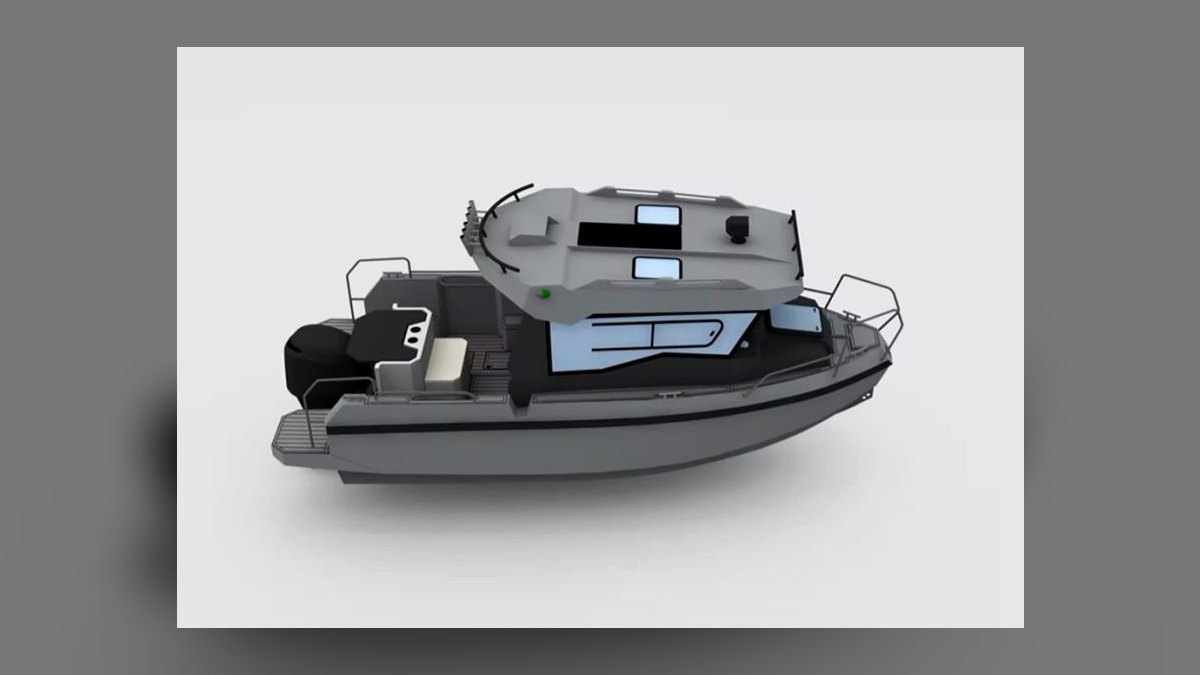
Week two, in parallel — corrosion and anodes. Aluminum is anodic; it sacrifices itself to protect other metals in the circuit. That is why sacrificial anodes exist on the lower unit, the trim tab, and sometimes the transom bracket. Replace any anode that is more than about half consumed, and never paint an anode — a painted anode does nothing. Never use copper-based antifouling paint on an aluminum hull; the galvanic couple between copper and aluminum will eat the hull. If your boat lives in saltwater or brackish water, this matters enormously; if it is trailered and rinsed after each trip on freshwater, it matters less but still matters.
Week three — the engine. Fuel first: drain old fuel, replace the fuel filter and any inline water-separating filter, inspect the primer bulb and fuel lines for cracking and hardness (squeeze them; a bulb that will not stay firm is leaking air), and replace lines that feel stiff. Then plugs, then gear oil, then the impeller. Do the impeller last of the mechanical items because it requires dropping the lower unit and you want to have already inspected the prop shaft, the seal area, and the prop itself for fishing line wrapped behind the hub — a classic cause of seal failure that costs nothing to check while you are in there. Reinstall the prop with a new cotter pin and torque the nut to spec.
Week three — electrical. Trace every wire. Aluminum boats vibrate, and the failure mode is almost always a connection, not a component. Replace corroded butt connectors with heat-shrink crimp connectors, support wire runs so they cannot chafe against a rib edge, and make sure the negative bus and the engine ground share a solid path. Test running lights, the all-round white light, the bilge pump on both auto and manual, the livewell pump if you have one, and the fish finder. If you are installing a transducer for the first time, mount it so it stays in clean water at speed and does not sit behind a rivet line or a strake that throws turbulence over the face.
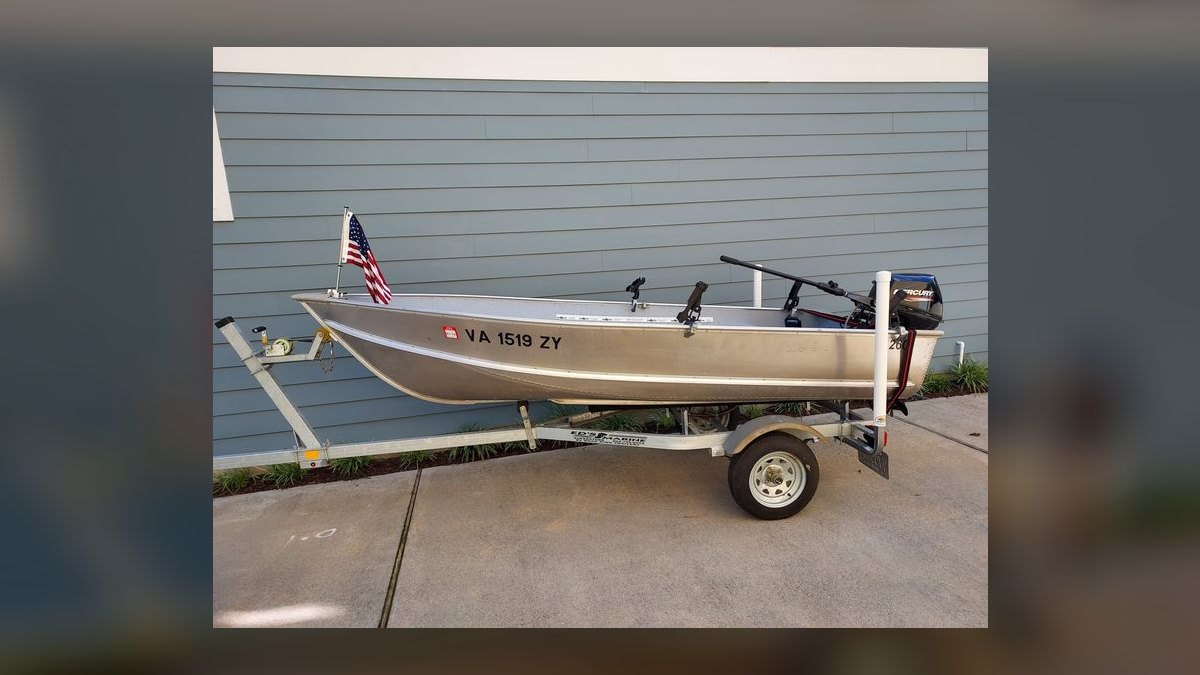
Week four — the shakedown. Run the motor on muffs in the driveway first and confirm a strong, steady stream from the telltale. No telltale stream means shut it down immediately — you have an impeller or a blocked passage, and running dry destroys the new impeller in seconds. Then go to a close, protected ramp on a weekday morning. Bring the plug — and check it twice, because the single most common first-launch story in every boating community ends with a boat filling up because nobody put the plug in. Idle away from the ramp, run through the gears, hold a mid-throttle cruise for fifteen minutes, then bring it up to wide-open throttle briefly and watch your tach and your trim. Then shut down, drift, and check the bilge for water, the transom for flex, and the engine mounting bolts for tightness.
What ongoing ownership actually looks like after the first prep
The first-time prep is front-loaded; the recurring rhythm afterward is much lighter, and knowing that rhythm helps you decide how much to invest up front.
Every trip. Check the plug before launch. Check the fuel level and that you have a way to secure the boat at the ramp. After the trip, especially in salt or brackish water, flush the engine with fresh water on muffs and rinse the hull, the trailer, and particularly the trailer brakes and bearing hubs. Salt left on a trailer overnight does more damage than a season of freshwater use.
Every few trips. Look at the prop for dings and line wrap. Check the bilge is dry. Confirm the battery is holding charge. Glance at the anodes.
Annually. Gear oil, plugs, fuel filter, anode replacement as needed, bearing repack, and a full hull walk-around with the raking flashlight. Impeller on the manufacturer's interval.
Winterization, if you get freezing weather. Stabilize or drain fuel, fog or otherwise treat the cylinders per the engine manual, drain the lower unit of water by storing the engine vertical so the gearcase can drain, remove the battery and store it charged somewhere it will not freeze, pull the drain plug and store the boat bow-high so any water runs out, and cover it in a way that lets air move — a tightly sealed tarp traps moisture and grows mildew on every soft surface.
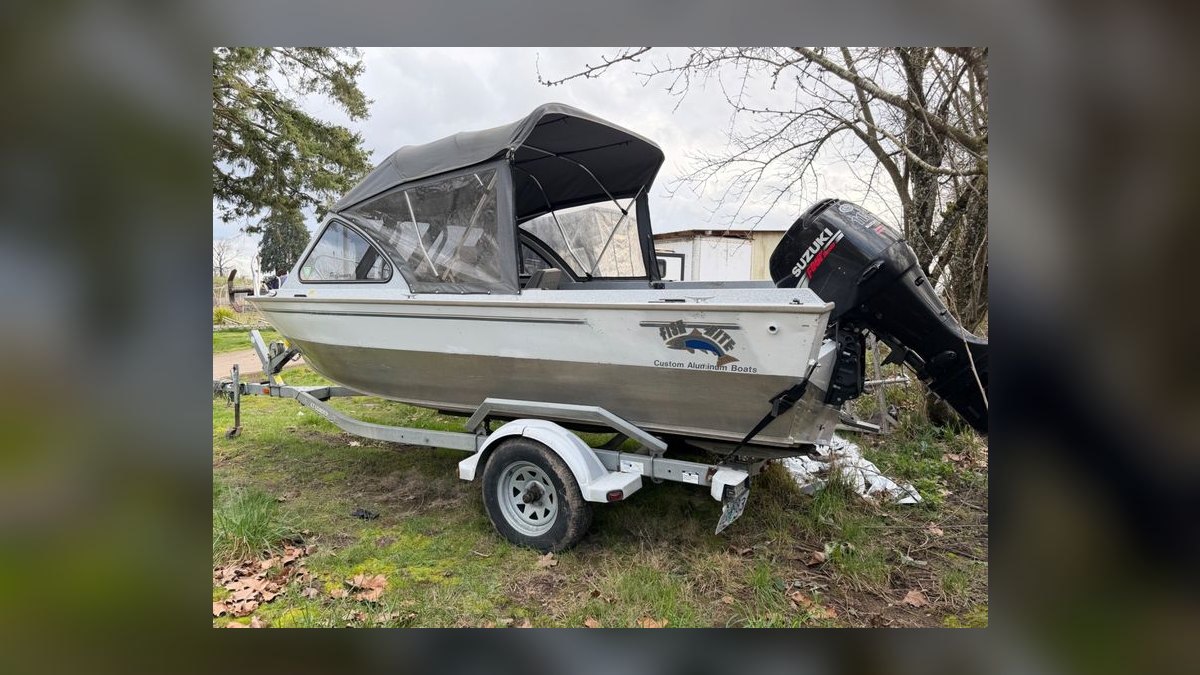
Where the adjacent scenarios diverge. A trolling-motor-only boat skips almost the entire engine section but gains a deep-cycle battery management problem: deep-cycle batteries want a proper multi-stage charger and hate being left partially discharged. A boat that lives on a lift or in a slip skips trailer maintenance but gains bottom growth and a much more serious galvanic-corrosion picture, including checking whether the marina's shore power system is putting stray current into the water. A boat that gets carried on a truck bed or roof rack skips both but demands attention to tie-down points and to the hull flexing over the load points.
The mental model worth keeping. An aluminum fishing boat is a simple machine with maybe six systems. Every one of them fails in a way that is visible before it strands you, and every one of them is checkable in under ten minutes. The first-time prep is not a mysterious ritual — it is the process of walking each of those six systems once, carefully, so that afterward you know exactly what "normal" looks like on your boat. That baseline is the real deliverable.
Related questions
Do I need a boating license to operate it?
Most U.S. states require a boater education certificate for operators under a certain age, and several require it for all operators regardless of age. The requirement, the age threshold, and the approved course all vary by state — check your state boating agency before your first outing.
Can I use automotive gear oil in the lower unit?
No. Marine lower units use gear lube formulated to resist water emulsification and to handle the specific loading of a bevel-gear drive. Use the lubricant your engine manufacturer specifies; the cost difference over a season is negligible compared to a gearcase rebuild.
How do I know if a used aluminum hull has been repaired badly?
Rake a flashlight along the hull at a low angle. Look for mismatched metal color, grinding marks, weld beads that are lumpy or porous, sealant smeared over a seam, or a patch riveted over a crack. Any of those warrants a professional inspection before you buy.
What should I do if I find water in the bilge after a run?
Dry it completely, then repeat the driveway leak test with the hull full of water and find the source. Common culprits: a loose drain plug, a leaking transducer or bilge through-hull fitting, weeping rivets, or a cracked livewell hose. Fix the source, do not just pump faster.
Is a riveted hull worse than a welded one?
Not worse — different. Riveted hulls are lighter and cheaper and flex more, which suits shallow water and easy car-topping. Welded hulls are stiffer and do not weep but can crack at stress points and are harder to repair in the field. Choose for use case, not prestige.
FAQ
How long does a first-time prep actually take?
Plan on a full weekend of hands-on time if the boat is in decent shape and you have parts on hand, spread across three or four weeks of calendar time so you can order parts and let the leak test run. If the boat came out of long storage with old fuel and unknown history, double the hands-on estimate and expect at least one surprise — a seized bearing, a fuel line that crumbles when you touch it, or a bilge pump that no longer pumps.
What are the absolute minimum steps before the very first launch?
Drain plug installed and confirmed, life jackets aboard for everyone, engine running with a visible telltale stream, battery load-tested and secured, bilge pump verified working, navigation lights functional if there is any chance of low light, registration current and displayed, and trailer lights and bearings checked. Everything else can wait one trip; those cannot.

Do I really need to change the impeller if the engine runs fine?
Yes, if you do not know when it was last done. An impeller is a rubber part that takes a permanent set while sitting, hardens with age, and loses vanes without warning. The failure symptom is an overheated powerhead, which is a repair that dwarfs the cost of the impeller kit many times over. Change it, note the date somewhere permanent, and forget about it for a couple of seasons.
Should I paint an aluminum hull?
Only with paint formulated for aluminum, and never with copper-based antifouling — copper against aluminum sets up a galvanic couple that corrodes the hull. Bare aluminum forms its own protective oxide layer and is perfectly serviceable unpainted on a trailered freshwater boat. If you want a paint job for looks or camouflage, use a self-etching primer designed for aluminum and an appropriate topcoat.
What tools should a first-time owner own?
A metric and SAE socket set, combination wrenches, a torque wrench that covers your prop nut range, a set of screwdrivers, needle-nose and channel-lock pliers, wire strippers and a crimper for heat-shrink connectors, a multimeter, a grease gun for trailer bearings, a drill, a hose with engine flush muffs, a paint pen for marking leaks, and a good flashlight. That kit handles nearly everything on the list.
Is buying a used aluminum boat riskier than buying new?
Not meaningfully, provided you inspect it. Aluminum hulls routinely outlast the engines bolted to them, so the risk concentrates in the powerhead, the lower unit, and the trailer — all three of which are testable before money changes hands. A compression test, a look at the gear oil, and a trailer bearing check tell you most of what you need to know.
Sources
- https://www.uscgboating.org/ — U.S. Coast Guard Office of Boating Safety, federal equipment requirements and safety guidance
- https://www.boatus.org/ — BoatUS Foundation, boating education courses and state law summaries
- https://uscgboating.org/recreational-boaters/federal-requirements.php — federal requirements for recreational vessels
- https://www.nasbla.org/ — National Association of State Boating Law Administrators, state-by-state education requirements
- https://www.abycinc.org/ — American Boat & Yacht Council, marine electrical and rigging standards
- https://www.nmma.org/ — National Marine Manufacturers Association
- https://www.epa.gov/ — U.S. EPA, guidance on ethanol-blended fuels and proper disposal of waste gasoline
- https://www.nhtsa.gov/ — NHTSA, trailer tire aging and towing safety guidance
- https://www.boatsafe.com/ — Boat Safe, boating operation and maintenance reference
Related on PULSE
- How do I winterize a small outboard motor?
- What safety equipment does the Coast Guard require on a small boat?
- How do I inspect and repack trailer wheel bearings?
- How do I diagnose water in a lower unit?
- What is galvanic corrosion and how do I prevent it on an aluminum hull?
- How do I choose the right trolling motor for a small fishing boat?
This page will be disappearing soon. Save it to your device for $1 — or read it free while it is here.
@Kory-White- · if Venmo asks, the last 4 of my number are 2012
This page is gone.
This one is off the shelf now. $1 keeps it on your phone for good — the whole page, pictures and diagrams included.
 pulse-recentWhat is the step-by-step process to inspect a used deck boat before buying it in 2027?
 pulse-recentTop 10 Aluminum Jon Boat Models in 2027
 pulse-recentTop 10 Zodiac Inflatable Boat Models in 2027
 pulse-recentHow to Add a Front Deck to an Aluminum Fishing Boat in 2027
 pulse-recentTop 10 Dual Console Boat Models in 2027
 pulse-recentTop 10 Catalina Sailboat Models 2024
 pulse-recentTop 10 Viking Yacht Models in 2027
 pulse-recentTop 10 Catalina Sailboat Models 2026
 pulse-recentTop 10 Catalina Sailboat Models 2022
 pulse-recentTop 10 Duffy Electric Boat Models in 2027