

How do I clean my cat's ears without causing injury or stress in 2027?
 Curated byKory White · Fractional CRO · Maryland
Quality
Certified

Wrap your cat in a towel, fill the ear canal with a veterinary ear cleaner, massage the base for 20–30 seconds, let the cat shake, then wipe only the visible outer ear with a cotton ball. Never insert cotton swabs, alcohol, or peroxide. Stop immediately if you see discharge, redness, or odor.
What routine ear cleaning actually is, and when a cat genuinely needs it
Most healthy cats never need their ears cleaned. Feline ears are self-clearing: the epithelium lining the canal migrates outward like a slow conveyor belt, carrying wax and debris toward the opening where normal grooming removes it. A cat with pale-pink canals, a light dusting of tan wax, and no odor is a cat you should leave alone. Cleaning that ear does nothing useful and carries real downside — stripping the protective cerumen layer raises pH, dries the canal, and can set up the yeast overgrowth you were trying to prevent.
So the first skill is not technique, it's triage. Ear cleaning is indicated when there is visible accumulated debris in an otherwise healthy ear, when your veterinarian prescribes cleaning as part of a treatment plan for an infection, or when a chronic underlying condition (allergic skin disease, a history of mites, a narrow or hairy canal) means wax genuinely accumulates faster than the cat can clear it. Roughly speaking, an unremarkable indoor cat might need cleaning zero times a year; a cat with allergic otitis on a vet-directed maintenance protocol might need it weekly.
The anatomy is why the technique looks strange to anyone used to cleaning their own ears. A cat's ear canal is not a straight tube. It runs down vertically from the opening, then makes a near right-angle turn horizontally toward the eardrum. That L-shape is protective — it makes it hard for debris to reach the tympanic membrane — but it also means anything rigid you push into the canal will either jam debris around the bend or press it into a compacted plug. It also means you cannot see the horizontal canal or the eardrum without an otoscope. You are always cleaning blind past the first bend, which is exactly why the rule is: liquid goes in, fingers and cotton stay at the entrance.

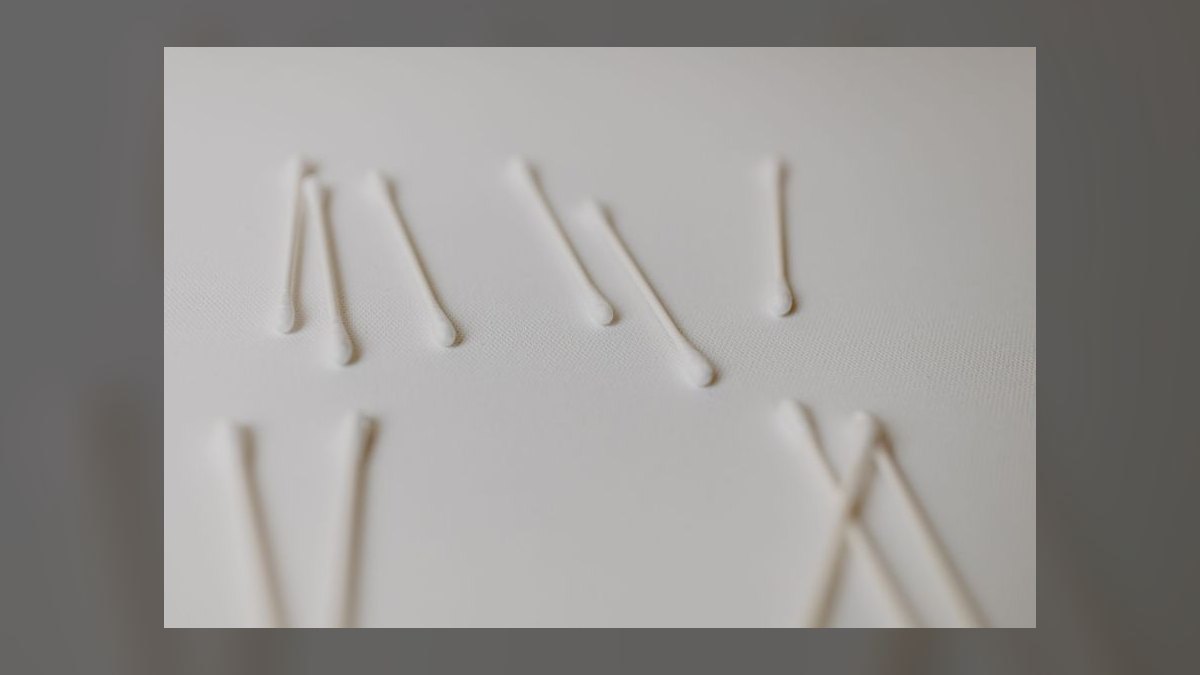
The instruments matter more than most owners expect. A cotton swab is narrower than a cat's vertical canal, so it acts like a plunger. Hydrogen peroxide foams, feels dramatic, and leaves moisture behind — the residual water is a yeast incubator, and peroxide is cytotoxic to the granulation tissue in an already-inflamed canal. Rubbing alcohol on ulcerated skin is genuinely painful, and one painful session will teach a cat to fight ear handling for years. Olive oil, coconut oil, and mineral oil have no drying agent and no ceruminolytic action worth the tradeoff; they soften wax while feeding organisms and leaving a film you cannot flush out.
What you want instead is a purpose-made veterinary otic cleaner. These typically combine a ceruminolytic (something that emulsifies wax — squalene, propylene glycol, or a docusate salt) with a drying agent (isopropyl-based or salicylic/boric acid) and often a mild antiseptic. Products in the Epi-Otic and Zymox families are commonly stocked by veterinary clinics. Crucially, the choice is not cosmetic: if the eardrum is ruptured — which you cannot rule out at home — certain ingredients are ototoxic and can cause permanent vestibular damage or deafness. This is the single strongest argument for a vet looking in the ear before you start any new cleaning routine on a cat that has been shaking its head.
There's a broader pattern here that applies to nail trims, dental brushing, and subcutaneous fluids just as much as ears: the household procedures that go badly are almost never the ones that were done with the wrong product. They're the ones done on the wrong day, to a cat who wasn't prepared, by a person who decided to finish the job rather than stop. Getting the ear clean is easy. Getting it clean without causing a cat who now hides when you pick up a towel is the actual project.
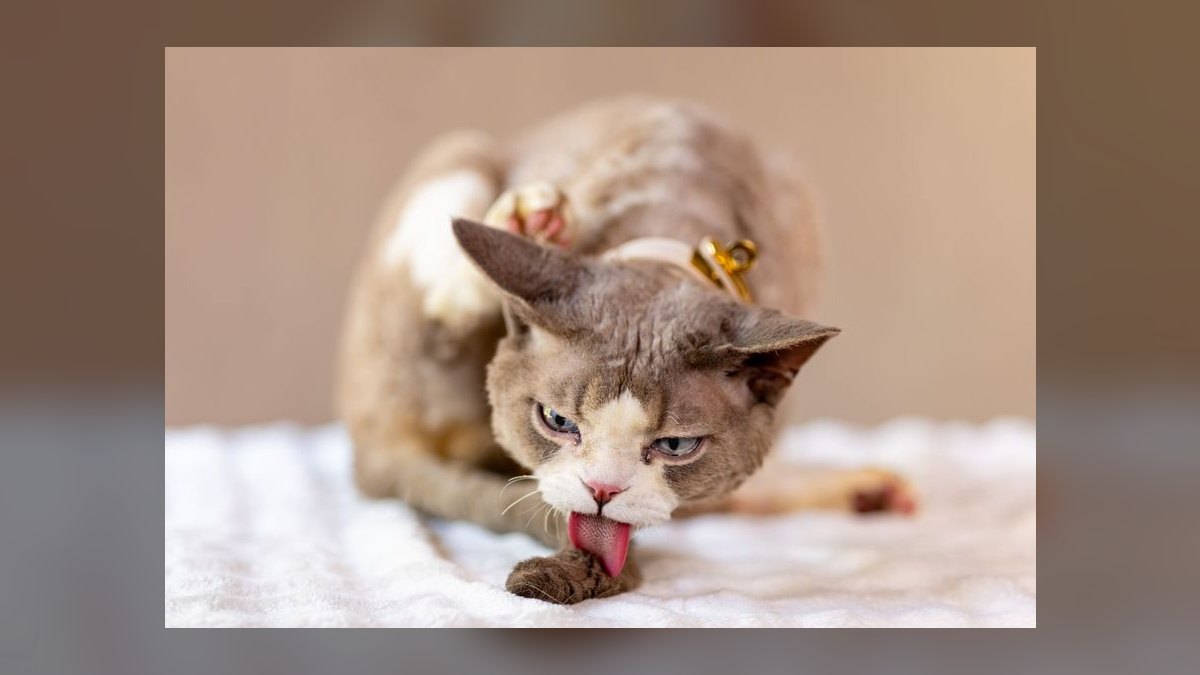
The step-by-step process, from setup to the final treat
Do the whole thing in one room with the door shut. A cat that breaks loose mid-procedure with cleaner in one ear is a cat you will be chasing under a bed, and the recovery costs you more trust than the cleaning was worth.
Set up before you touch the cat. On a counter or table, lay out: the cleaner (cap already loosened), a stack of six to ten cotton balls or gauze squares, a bath towel, and high-value treats — freeze-dried chicken, a squeeze tube of lickable purée, whatever your specific cat abandons a nap for. Warm the bottle by holding it in your palm or sitting it in a mug of warm tap water for a few minutes, then test a drop on your inner wrist. Cold liquid hitting a warm canal produces a startle and, occasionally, transient dizziness. If you use a synthetic feline pheromone spray, apply it to the towel ten to fifteen minutes ahead so the alcohol carrier has evaporated — spraying it near a cat's face right before handling is counterproductive.
Inspect first, decide second. Fold the ear flap back gently and look into the opening in good light. You are looking for three things: color of the canal skin, character of any debris, and smell. Pale pink and a little tan wax means proceed or skip. Anything red, wet, black, granular, purulent, or sour-smelling means stop and book a vet appointment — cleaning an infected ear at home spreads material, hurts, and destroys the sample your vet needs for cytology.
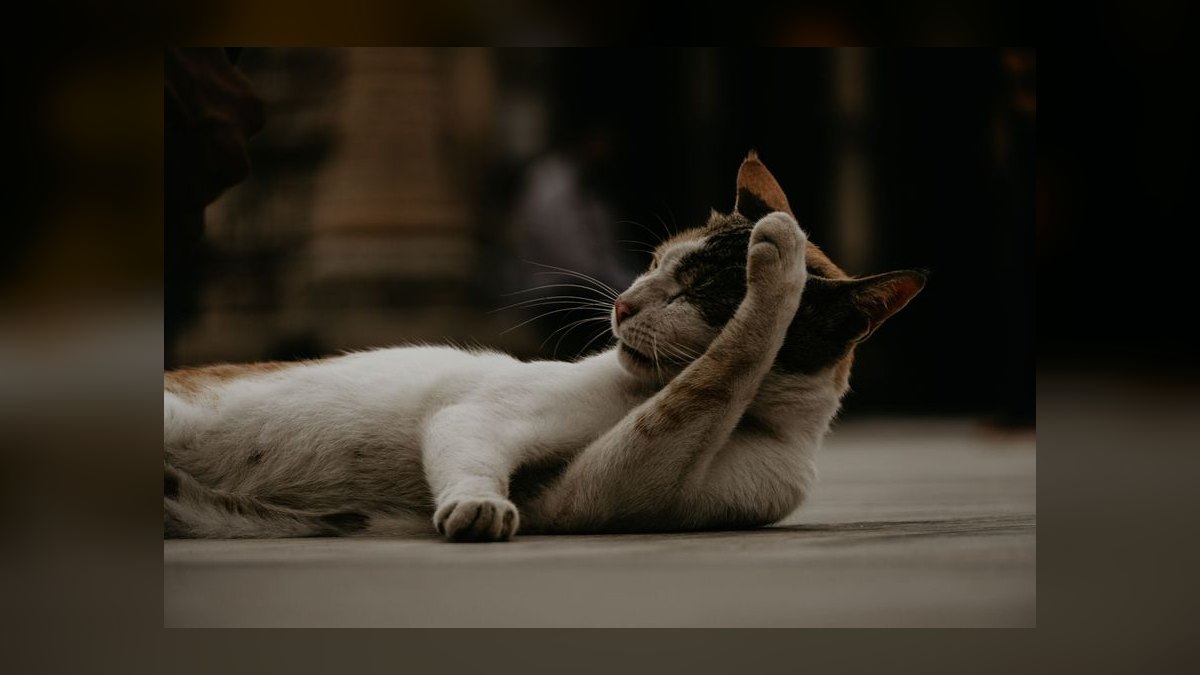
Restrain kindly. The towel burrito is the standard: lay the towel out, set the cat near one edge, bring the near side across the chest and under the far armpit, then wrap the remaining length around so all four feet are enclosed and only the head protrudes. Snug, not compressive — you should be able to slide two fingers between towel and ribs. If you have a second person, the better division of labor is one person holding and offering a lickable treat at nose level while the other works. Never scruff a cat for this; adult scruffing is uncomfortable, doesn't reliably immobilize, and adds a negative association to an already borderline procedure.
Fill, don't drip. Hold the ear flap up and slightly outward to straighten the vertical canal, then squeeze enough cleaner into the canal to fill it — usually until you see liquid at the opening. Do not touch the bottle tip to the ear; that contaminates the bottle for every future use, which matters a lot in multi-cat homes where you can shuttle mites or yeast between animals.
Massage the base. Fold the flap down over the opening, find the firm cartilage tube at the base of the ear between your thumb and forefinger, and knead it for twenty to thirty seconds. You will hear a distinct squelching sound — that is the cleaner working around the bend into the horizontal canal, emulsifying wax. This step is the one people cut short, and it's the step that does the actual work. Without the massage, you have only wet the entrance.
Let go and let the cat shake. Release the head and step back. The head shake is the mechanism that fires debris up out of the horizontal canal. Expect spray — do this somewhere wipeable, or drape the towel over your own arm. Some cats shake for ten seconds; some do it three times over the next minute.
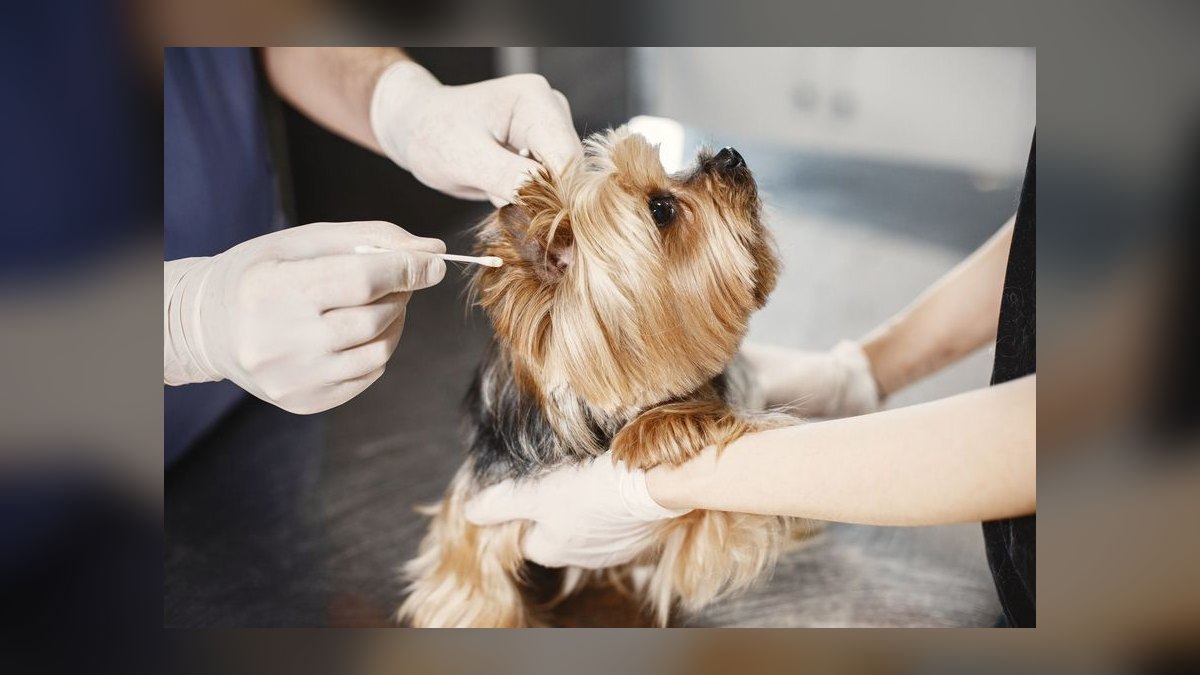
Wipe only what you can see. Take a cotton ball, wrap it over your index finger, and wipe the pinna folds and the entrance to the canal. Your finger is the depth limiter: never go past the first knuckle, and never introduce anything narrower than your fingertip. Change cotton balls as they come out soiled. When a fresh one comes out essentially clean, you're finished with that ear.
Reward, then stop. Treat immediately — within two seconds of releasing, so the association lands. If the second ear also needs cleaning and the cat is still relaxed, repeat. If the cat has hit its limit, do the second ear tomorrow. A half-finished calm cat is a better outcome than two clean ears and a cat that now bolts when you reach for the towel shelf.
The same sequence generalizes surprisingly well. Nail trims work on the identical logic — prepare everything first, restrain gently, do one nail if that's all you get, reward, stop. Toothbrushing follows it too. Owners who succeed at cat husbandry tend to have internalized one rule across all of these: the session ends on your terms while the cat is still calm, not when the task is complete.
Costs, timelines, and what the numbers usually look like
A bottle of veterinary otic cleaner is inexpensive relative to everything downstream — typically in the low tens of dollars for a bottle that will last a single cat many months, since each cleaning uses a few milliliters. Cotton balls and gauze are negligible. Pheromone spray and diffusers are the pricier optional accessory, generally in the twenty-to-forty-dollar range per unit, and worth trying only if your cat is genuinely reactive to handling.
Against that, the veterinary side: a general exam for an ear complaint commonly runs somewhere in the fifty-to-a-hundred-fifty-dollar band depending on region and clinic type, with ear cytology (a swab, stained and read under a microscope) typically adding a modest diagnostic fee. Prescription otic medications land in a wide band depending on whether you need a simple miticide, a combination antibiotic-antifungal-steroid drop, or a long-acting single-dose product applied in clinic. A deep flush under sedation, needed when a canal is packed or too painful to examine awake, is a substantially larger line item — it involves anesthesia monitoring, and pricing reflects that. Advanced imaging to rule out a polyp or mass sits higher again. Treat these as order-of-magnitude guidance rather than a quote; regional variation between a rural clinic and an urban specialty hospital is large, and emergency after-hours pricing is a separate tier entirely.
On timelines: the cleaning itself should take sixty to ninety seconds of actual contact per ear, plus five minutes of setup. If you're regularly spending ten minutes wrestling, something upstream is wrong — either the cat needs desensitization work or the ear needs a vet, because pain is the most common reason a previously tolerant cat starts fighting.
Desensitization runs on a longer clock. A reasonable plan is one to two weeks of short daily sessions before you attempt a real cleaning on a resistant cat: several days of nothing but touching the ear base and treating, a few days of letting the cat sniff the bottle and cotton, then a few days of dry-cotton wipes of the outer flap. Each session should be under a minute. Trying to compress this into one afternoon is the most common way people convert a mildly reluctant cat into a permanently ear-shy one.
For infections, expect your vet to set a recheck at roughly one to three weeks depending on severity. Cytology at recheck matters — ears frequently look better before the organism count has actually dropped, and stopping early is a leading cause of the chronic relapsing cases that eventually need sedated flushes. If a cat is on maintenance cleaning for allergic otitis, a common cadence is once or twice weekly during flare seasons, tapering to every few weeks when the underlying allergy is controlled.
Frequency for a healthy cat is the number people most often get wrong in the other direction. Zero to once a month is normal. Weekly cleaning of a healthy ear is over-treatment. The right cadence is: inspect weekly during a grooming session, clean only on evidence.
Where people go wrong, and what it costs
Cleaning a painful ear. The single most damaging error. An inflamed canal is already ulcerated in places; flooding it with an alcohol-based cleaner is severely painful, and cats generalize that pain to the towel, the room, and your hands. It also degrades diagnostic material — a cat that arrives at the clinic with freshly flushed ears may yield a cytology sample that misses the organism entirely, delaying correct treatment by a week.
Using cotton swabs anyway. People know the rule and break it because they can see debris just inside and want it gone. The result at best is compaction against the horizontal bend; at worst, on a cat that jerks at the wrong moment, a traumatized canal or a perforated eardrum. Traumatic perforation is not a subtle injury — it can produce head tilt, nystagmus, and lasting vestibular signs.
Chasing the last speck. Ears do not need to be spotless. Wax is protective. The endpoint is "cotton comes out mostly clean," not "the canal looks scrubbed."
Treating one ear when both are affected. Yeast and mites are rarely unilateral. Cleaning only the visibly dirty side leaves a reservoir that reseeds within days. Conversely, genuinely one-sided disease in a cat is a flag worth mentioning to your vet — unilateral chronic otitis in an adult cat raises the question of a nasopharyngeal polyp or a mass rather than simple wax.
Missing the underlying cause. Recurrent ear problems in cats are usually a symptom, not the disease. Ear mites are common in kittens, shelter cats, and outdoor cats and are highly contagious between animals in a household — treating one cat and not the others guarantees a bounce-back. In adult indoor cats, recurrent otitis more often traces to allergic skin disease. If you're cleaning ears every week to stay ahead of debris, the real conversation is about diet trials, parasite prevention, or allergy workup, not about cleaning technique.
Sharing bottles and contaminating tips. Touching the applicator to an infected ear and then using the same bottle on the other cat is a straightforward transmission route. Wipe the tip, or keep separate bottles in a multi-cat home during active treatment.
Forcing the session to completion. Worth stating twice because it drives most of the long-term difficulty. Cats do not habituate to procedures that end badly; they sensitize. Every session you push past the cat's tolerance makes the next one harder. Stopping early costs you one day. Pushing through can cost you a year of cooperation and, eventually, a sedated visit for something you used to do at home.
Skipping post-cleaning observation. Watch the cat for the next twenty-four hours. New head tilt, stumbling, circling, or increased pawing after a cleaning is not normal and warrants a call — it may indicate a pre-existing perforation that the cleaner reached.
Deciding what to do: home cleaning, vet visit, or leave it alone
The decision tree is short, and running it honestly before you open the bottle prevents nearly every bad outcome. Three questions: Is there evidence of disease? Is the cat handleable today? Has this happened before?
Evidence of disease sends you to the vet, full stop. That means dark granular debris resembling coffee grounds (classic for mites, though cytology is what confirms it), yellow or green purulent discharge, a sour or yeasty smell, redness or swelling of the canal, heat, obvious pain on touch, blood, or a swollen pinna suggesting an aural hematoma from repeated scratching. Neurological signs — head tilt, loss of balance, flicking eye movements, facial asymmetry, or a third eyelid that won't retract — escalate this from "book an appointment" to "book it now," because those point at middle or inner ear involvement.
Handleability governs *how*, not *whether*. If the cat is tense but not aggressive, do the desensitization ladder over a week or two rather than forcing today's session. If the cat redirects and bites, stop entirely — cat bites to human hands carry a genuine infection risk and are a common source of hand cellulitis requiring antibiotics. Bring the cat to the clinic instead, and ask whether a pre-visit anxiolytic prescribed by your veterinarian is appropriate; that's a reasonable, commonly used option for cats where handling is the limiting factor. A carrier left out as furniture, towel-covered during transport, and a clinic that practices low-stress handling all reduce the total stress budget more than anything you can do in the moment.
Recurrence changes the target. A one-off clean ear that got dusty is a cleaning problem. An ear that refills within a week, every week, is a diagnostic problem, and continuing to clean it is treating the exhaust rather than the engine. Breeds and conformations skew this: cats with folded ears or very hairy canals accumulate more, long-haired cats benefit from careful trimming of the tufts around the opening to improve airflow, and outdoor or multi-cat households carry higher mite exposure. Prevention that actually moves the number is unglamorous — consistent year-round parasite prevention with a product your vet confirms covers ear mites, control of underlying allergic disease, keeping the environment dry and smoke-free, and a weekly ten-second visual check folded into the routine you already do for nails and coat.
Related questions
How do I tell ear mites apart from ordinary wax?
Mite debris is characteristically dark, dry, and crumbly — often compared to coffee grounds — and is usually accompanied by intense scratching in both ears. Normal wax is lighter tan, softer, and doesn't itch. Only microscopic examination confirms it, and mites need prescription treatment, not cleaning.
Can I clean my kitten's ears the same way?
Yes, with gentler restraint and shorter sessions, but kittens are the highest-risk group for ear mites, so a debris-filled kitten ear should be seen by a vet before you clean. Early positive handling also pays off enormously for lifetime cooperation.
Does my cat need ear cleaning after a bath or grooming?
Usually no. If water clearly entered the canal, a drying-agent otic cleaner can help displace residual moisture, which discourages yeast. Routine post-bath cleaning of healthy ears is unnecessary and mildly counterproductive.
What should I do if my cat scratches me during the process?
Stop the session and wash the wound thoroughly with soap and water. Cat scratches and especially bites can become infected quickly; deep punctures, spreading redness, or swelling warrant prompt medical attention. Then rethink the restraint approach rather than repeating it.
Do indoor-only cats need ear cleaning at all?
Most don't. A healthy indoor cat's ears are self-maintaining. Fold the flap back once a week during grooming, look, smell, and do nothing if it's clean — that check is the whole routine for the majority of cats.
FAQ
How often should I clean my cat's ears? Only when there's a reason. Many healthy cats never need it. Inspect weekly and clean on evidence of accumulated debris, or on the schedule your veterinarian prescribes for a specific condition. Cleaning a clean ear strips protective wax, dries the canal, and can trigger the exact irritation you were trying to avoid.
Can I use hydrogen peroxide, alcohol, vinegar, or olive oil? No. Peroxide is cytotoxic to inflamed tissue and leaves moisture behind. Alcohol on ulcerated skin is intensely painful. Vinegar dilutions are unpredictable in concentration and sting. Oils feed yeast and can't be flushed out. Use a veterinary otic cleaner formulated with both a wax emulsifier and a drying agent.
What if my cat absolutely will not tolerate it? Don't escalate force. Run a one-to-two-week desensitization ladder — touch and treat, then bottle-sniff and treat, then dry wipe — and measure progress in seconds of tolerance rather than in finished ears. If the cat still panics or bites, hand it to your clinic and ask about a pre-visit anxiolytic.
Is it dangerous to clean if the eardrum might be ruptured? Yes, and this is the reason to have a vet look first when a cat has been head-shaking. Some otic ingredients are ototoxic and can cause permanent vestibular damage or hearing loss if they reach the middle ear. Head tilt or balance loss after a cleaning is an immediate call to your vet.
How deep should I actually go? No deeper than your fingertip at the canal entrance, with cotton wrapped over your finger. Liquid does the work below that point. The canal's L-shaped bend means anything rigid pushed inward compacts debris rather than removing it, and the eardrum sits past a curve you cannot see.
My cat's ears look clean but he keeps scratching them — now what? That's a diagnostic question, not a cleaning one. Itching without visible debris commonly points at allergic skin disease, early mite infestation, or pain from deeper in the canal. Cleaning won't touch any of those. Get an otoscopic exam and cytology rather than adding cleaning sessions.
Sources
- Cornell Feline Health Center — Cat Care resources
- American Veterinary Medical Association — Pet Owner Resources
- ASPCA — Cat Grooming Tips
- International Cat Care — Advice on cat health and care
- VCA Animal Hospitals — Cat Health Care Library
- Merck Veterinary Manual — Ear Disorders of Cats
- American Association of Feline Practitioners — Cat Friendly Handling Guidelines
- Cats Protection — Cat health and grooming advice
Related on PULSE
- Top 10 Tips for Keeping Your Cat's Teeth Healthy Without Stress
- How do I trim my cat's nails without a struggle?
- How do I treat fin rot in freshwater fish without medication?
- How to treat ich in a planted tank without harming invertebrates?
- How to acclimate saltwater fish from the LFS without drip acclimation?
- Can I keep multiple male fancy guppies together without aggression?
This page will be disappearing soon. Save it to your device for $1 — or read it free while it is here.
@Kory-White- · if Venmo asks, the last 4 of my number are 2012
This page is gone.
This one is off the shelf now. $1 keeps it on your phone for good — the whole page, pictures and diagrams included.
 pulse-petsTop 10 Lake Victoria Cichlids 2027
 petsTop 10 Bird Play Gyms with Foraging Toys for Cockatiels in 2027
 pulse-petsTop 10 aquarium vacuum cleaners 2027
 petsHow to acclimate saltwater fish from the LFS without drip acclimation in 2026?
 petsWhat are the signs of a healthy aquarium water cycle in 2026?
 pulse-petsTop 10 Clown Pleco Wood Grazers 2027
 petsWhat vegetables are safe for rabbits to eat daily in 2027?
 pulse-petsTop 10 Bucephalandra Varieties 2027
 petsTop 10 Smart Pet Feeders for 2027
 pulse-petsTop 10 SPS Corals for Advanced Reefs 2027