
How often should I replace the filter media in a sponge filter for a fry tank?
 Curated byKory White · Fractional CRO · Maryland
 PULSEKNOWLEDGE LIBRARY
Quality
Certified

In most fry tanks, don't replace sponge media on a calendar — rinse it every 5–7 days and replace the foam only when it degrades, typically every 6–12 months. Swap sooner if the foam tears, stays mushy, or clogs within 2–3 days. Replace one sponge at a time so the bacterial colony survives.
The outcome you should expect from a well-run sponge
The first thing worth untangling is that "replace the filter media" and "clean the filter media" are two different jobs on two different clocks, and conflating them is the single most common reason fry tanks crash. A sponge filter has essentially no consumable chemical media — no carbon cartridge to exhaust, no phosphate resin to saturate. It is a block of open-cell foam that does two things at once: it strains particulate out of the water column (mechanical) and it hosts the nitrifying bacteria that convert ammonia to nitrite and nitrite to nitrate (biological). The mechanical function degrades within days as debris packs the pores. The biological function *improves* for weeks and then holds steady for as long as the foam physically survives. Cleaning restores the first without destroying the second. Replacing the foam sacrifices a chunk of the second to restore the first — which is why it should be your rare move, not your routine one.
So the outcome you should be aiming for in a fry tank is: ammonia and nitrite at 0 ppm, continuously, with a rinse cadence of roughly 5–7 days and a foam-replacement cadence measured in months, not weeks. If you are replacing sponge foam every four weeks and it is genuinely necessary, something upstream is wrong — you are overfeeding, overstocked, undersized on filtration, or your foam is too coarse or too cheap for the load. Frequent replacement is a symptom, not a maintenance schedule.
Practically, here is what "well-run" looks like in a 10–20 gallon grow-out tank holding a few hundred fry. You feed three to five small meals a day, because fry have tiny stomachs and near-continuous energy demand. You do a 20–30% water change every day or every other day, siphoning the bare bottom to lift uneaten food and detritus before the sponge ever has to deal with it. You squeeze the sponge in a bucket of removed tank water once a week — not until the water runs clear, just until the heavy sludge is out and the foam re-expands briskly. Your test kit reads 0/0 for ammonia and nitrite, with nitrate creeping upward between water changes, which is exactly what a working nitrogen cycle looks like. Under that regime, a decent block of foam lasts six months to well over a year, and often the reason you finally change it is that a corner tore during a squeeze, not that it stopped working.

The failure mode people imagine — "the sponge got saturated with bacteria and stopped filtering" — is not really a thing. Nitrifying bacteria form a thin biofilm; they do not fill the pores. What fills the pores is food waste, mulm, and shed mucus. That is a cleaning problem with a cleaning solution. What *does* eventually end a sponge's life is mechanical: repeated compression collapses the cell structure, the foam loses its spring, and surface area drops permanently. That takes many months of weekly squeezing to accomplish, which is why the honest answer to "how often should I replace it" is "much less often than you think, and on the foam's condition rather than the calendar."
One more outcome to hold in mind: the tank should never experience a detectable ammonia or nitrite reading as a result of maintenance. If a sponge swap produces a spike, the swap was done wrong — the new foam wasn't seeded, or both sponges were changed together, or the old one was rinsed under the tap first. A correctly executed replacement is invisible in the test results. That is the bar.
What actually drives the replacement interval
Four variables move the number, and they interact. Understanding them lets you predict your own interval instead of borrowing someone else's.

Bioload per gallon. Fry are small individually but enormous collectively in terms of waste per unit water, because their metabolic rate per gram of body mass is far higher than an adult's and they are fed far more often. Two hundred guppy fry in ten gallons produce more dissolved nitrogen per day than a pair of adult angelfish in twenty. Bioload does not shorten the foam's *lifespan* much, but it dramatically shortens the *rinse* interval — and it is repeated rinsing that eventually wears the foam out. So bioload affects replacement indirectly, through wear.
Food type. This is the big one and it is badly underappreciated. Live baby brine shrimp, decapsulated artemia, microworms, and powdered dry fry foods behave very differently in a filter. Powdered foods are the worst offenders: the particle size is small enough to pass deep into the sponge's pores rather than sitting on the surface, so it packs the interior where a surface squeeze doesn't fully reach. Live brine shrimp that aren't eaten will swim around and die eventually, but they don't disperse as a cloud of fines. If you feed heavily on powder, expect to rinse every 3–4 days rather than weekly, and expect the foam to age faster because of it.
Foam pore density. Coarse foam clogs slowly and rinses easily but offers less surface area per cubic inch. Fine foam offers more surface area and better mechanical polish but blinds off quickly under a heavy feeding regime. In a fry tank, coarse-to-medium is usually the smarter buy — you trade a little biological capacity for a much longer interval between interventions, and interventions are what wear the sponge out. Many breeders deliberately run an oversized coarse sponge rather than a correctly sized fine one for exactly this reason.

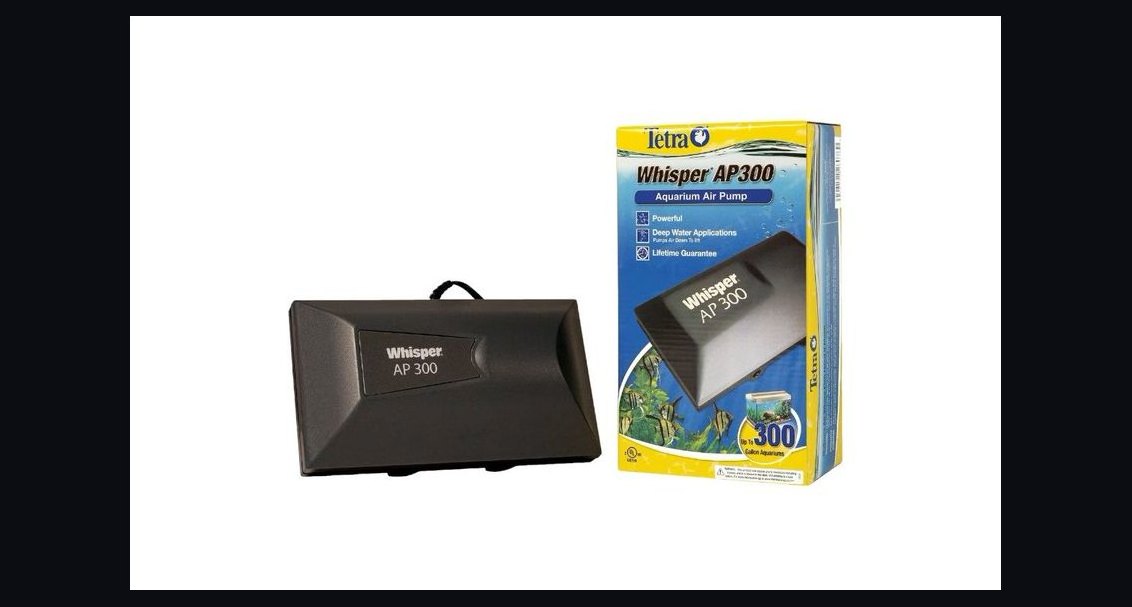
Water movement and air volume. A sponge driven by a strong air pump through a wide lift tube pulls more water through the foam per hour, which means more debris arrives at the sponge but also that the biofilm stays better oxygenated. Undersized airflow is a quiet killer: flow drops, the interior of the sponge goes hypoxic, nitrification slows, and you start seeing nitrite even though the sponge looks fine from outside. Before you blame the foam and replace it, check the air pump diaphragm, the airline for kinks, and the airstone for calcification. A tired pump masquerades as a tired sponge constantly.
Notice what the diagram does *not* contain: a calendar. Every path to replacement runs through either a physical failure of the foam or an unexplained loss of biological performance. That is deliberate. A calendar-driven replacement schedule in a fry tank throws away working bacteria for no benefit and introduces risk on a fixed timetable, which is a strange thing to volunteer for.
Benchmarks and realistic ranges
Here are working numbers you can hold against your own setup. Treat them as starting points to calibrate against your test kit, not as laws.
Rinse interval. Lightly stocked fry tank with live-food feeding and daily water changes: 7–10 days. Typical grow-out with a few hundred fry and 3–4 powder or brine feedings daily: 4–7 days. Heavy commercial-style density with near-continuous feeding: every 2–3 days. If you are rinsing more often than every 2 days just to keep flow, the sponge is undersized for the load and the answer is a bigger or second sponge, not a more frequent replacement.
Foam replacement interval. Quality reticulated aquarium foam under weekly rinsing: 12–24 months is common, and plenty of breeders run the same block for years. Budget foam or a fine-pore sponge under aggressive rinsing: 6–12 months. Foam that has been through medication courses, dried out during a move, or been scrubbed rather than squeezed: much shorter, sometimes a single season. The honest range for a fry tank specifically — because fry tanks get rinsed harder than display tanks — is roughly 6 to 18 months.
Sponge sizing. A rough working heuristic is one sponge rated for at least double your tank's volume. A 10-gallon fry tank runs better on a filter rated for 20 gallons, and better still on two rated for 10 each. Oversizing buys you longer intervals between every intervention, and in a fry tank, fewer interventions means fewer chances to knock something over, siphon a fry, or crash a colony.
Seeding time for a replacement sponge. Two weeks in the same tank is the minimum that reliably works; four weeks is comfortable. If you seed in a separate established tank, the same range applies, but transfer it wet and quickly — biofilm exposed to air for more than a few minutes starts losing viability, and it never fully recovers from drying.
Post-swap monitoring. Test ammonia and nitrite daily for five to seven days after any foam change. In a properly seeded swap you should see nothing. If you see 0.25 ppm ammonia, that is a 25–30% water change plus a dose of a binder like Seachem Prime, and it means your seeding period was too short. If you see 0.5 ppm or more, you effectively did an uncycled swap and should be doing daily water changes until the readings clear.
Air pump service life. Diaphragms typically stiffen and lose output somewhere in the 12–24 month range under continuous use, and rebuild kits are cheap. Airstones calcify faster — three to six months is normal in hard water. Both of these masquerade as sponge failure, so replace them on their own schedule before you condemn a perfectly good block of foam.
Two adjacent scenarios are worth calibrating against, because they show the same logic under different loads. A quarantine tank running a sponge intermittently — set up for two weeks, torn down, stored dry — will kill its bacterial colony on every teardown, and the foam itself becomes brittle from repeated drying. Those sponges genuinely do need replacement more often, maybe annually, and the smarter fix is to keep the sponge running permanently in a display tank between uses. A shrimp culture tank, at the other extreme, runs a fine sponge under very low bioload with almost no feeding waste, and those blocks routinely go three or four years untouched except for a gentle annual squeeze. Same media, same biology, wildly different intervals — because the drivers are different, not because the rules are.
Risks, edge cases, and failure modes
Replacing everything at once. The classic tank-killer. If your filter has two sponges and you change both in the same session, you have removed most of the tank's nitrifying capacity in one move. In a fry tank with heavy feeding, ammonia can become detectable within 12–24 hours and reach genuinely lethal territory within two or three days. The fix is trivially simple: never change more than half your biological media in one go, and leave at least three to four weeks between halves.
Rinsing in tap water. Chlorine and chloramine kill biofilm on contact. Even a quick rinse under the faucet does meaningful damage, and chloramine — used by most municipal systems now — is worse than chlorine because it doesn't gas off. Always squeeze into a bucket of water you just siphoned out of the tank. It costs nothing, it's already the right temperature and chemistry, and you were going to throw it out anyway.
Squeezing until the water runs clear. Over-cleaning is a real failure mode. The goal is to restore flow, not to sterilize. Two or three firm squeezes in a bucket of tank water, and stop. The foam should still look brown. Brown is bacteria and detritus mixed, and you want to keep most of the former.
Medication damage. Copper-based treatments, malachite green, and formalin all suppress or kill nitrifying bacteria, and some solvents in medication carriers can degrade foam over time. If you medicate a fry tank, expect a partial cycle crash and test daily throughout. Don't preemptively replace the sponge — the colony usually rebounds within one to three weeks if you support it with water changes and a binder. Replacing the foam mid-treatment removes what colony survived and makes the crash worse.
Letting the sponge dry out. A power outage or a pump failure that goes unnoticed for a day will start killing the interior colony as oxygen runs out. Twelve hours is usually survivable; forty-eight often is not. If a sponge sat dead for a long stretch, don't just restart it — treat the tank as partially uncycled, test daily, and feed lightly for a week.
Hydrogen sulfide pockets. In a badly neglected fine-pore sponge that hasn't been rinsed in months, the interior can go anaerobic and produce hydrogen sulfide — you'll smell rotten eggs when you pull it. Do not squeeze that into your fry tank. Take it out, rinse it in a separate bucket of dechlorinated water until the smell is gone, and consider that a genuine case for replacement.
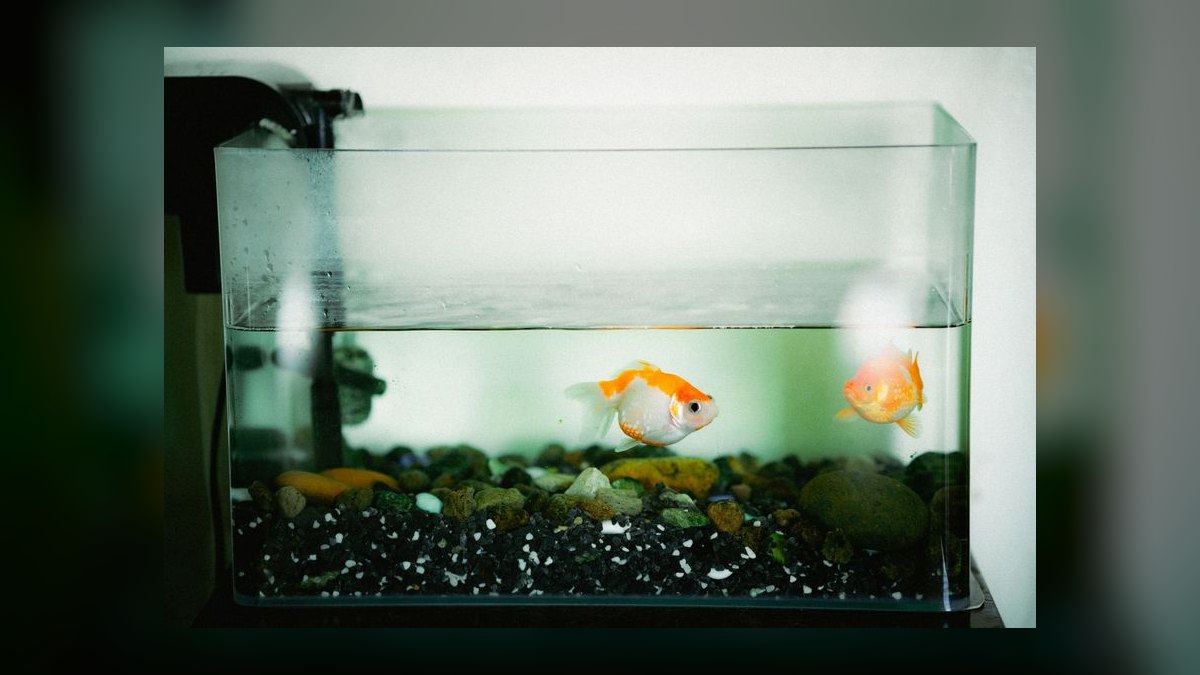
Fry getting into the lift tube. Very small fry can be drawn into an uncovered lift tube or, more often, get trapped in the gap between a sponge and a wall. This isn't a media question but it kills fry, so it belongs on any fry-tank filter checklist. Pre-filter foam over the lift tube outlet and keep the sponge a couple of inches off the glass.
Reading a nitrite spike as a media problem. Nitrite is the second stage of the cycle and its bacteria are slower to establish than the ammonia-oxidizers. Nitrite showing up with ammonia at zero usually means the colony is mid-recovery, not that the sponge is finished. Support it with water changes and give it a week before making any structural change.
A practical rollout plan
If you're standardizing this across one tank or a rack of twenty, here is the sequence that works. It front-loads the boring part — building spare seeded media — and that one investment removes essentially all of the risk from every future swap.

Step one: build a seeding bank. In your largest, most stable established tank, run two or three extra sponges permanently. They cost a few dollars each and a splitter on an air line. This is your insurance policy. Any time a sponge fails anywhere in the fishroom, you pull a fully colonized replacement off the bank and the swap is a non-event. Breeders who have been burned once almost always end up doing this.
Step two: instrument before you schedule. Buy a liquid test kit rather than strips — strips are directionally useful but too imprecise at the low end where fry actually live. Test ammonia and nitrite twice a week for a month and write the numbers down with the date, the feeding volume, and the last rinse date. After four weeks you will have an actual picture of how your specific tank behaves, and the correct rinse interval will be obvious from the data rather than guessed.
Step three: separate the two cadences explicitly. Put "rinse sponge" on a recurring reminder at whatever interval your data supports. Do not put "replace sponge" on a reminder at all. Instead, put "inspect foam condition" on a quarterly reminder — squeeze it, watch how fast it springs back, look for tears and permanent compression, check whether it clogs faster than it used to. Replacement is the output of that inspection, not of a date.

Step four: standardize the swap procedure so it's identical every time and no one improvises. Seed the new sponge in the same tank for two to four weeks. On swap day, pull the old sponge into a container of tank water, install the new one, then squeeze the old foam's water directly into the tank so the loose bacteria and mulm stay in the system. Keep the old sponge running in the bank tank for another month as a fallback before you throw it out. Test daily for a week.
Step five: fix the upstream drivers rather than compensating downstream. If your rinse interval is under three days, look at feeding first — most fry tanks are overfed, and the difference between "as much as they clear in two or three minutes" and "a generous pinch" is enormous in filter terms. Then look at water change frequency, then at sponge sizing, then at air delivery. Media replacement should be the last lever you reach for, not the first.
The reason this plan is worth the setup effort is that it converts an anxious, ad-hoc decision into a boring one. Most fry losses attributed to "filter maintenance" are really losses attributed to *unplanned* filter maintenance — a sponge tore on a Sunday, the only spare was dry in a drawer, and the swap became an uncycled gamble. With a bank running, that Sunday is a five-minute job with no water-quality consequence at all.
Related questions
Should I ever replace the sponge and the filter body together?
No. The plastic body, lift tube, and weighted base are effectively permanent — replace them only if cracked. The foam is the only wear part. Keeping the body means the new foam sits in exactly the same flow pattern, which makes post-swap behavior predictable.
Can I cut a new sponge from bulk aquarium foam?
Yes, and many breeders do. Use reticulated open-cell foam sold for aquarium or pond use, cut slightly oversized so it compresses into place, and rinse it thoroughly in dechlorinated water first. Avoid household sponges — many contain antimicrobial additives that will damage your colony.
How often should I replace the airstone driving the sponge?
Every three to six months in hard water, sooner if you see the bubble stream weakening or coarsening. A calcified stone throttles flow through the foam and produces symptoms identical to a clogged sponge, so check it before you blame the media.
Does a sponge filter need replacing after a disease outbreak?
Usually not. Keep the foam, finish the treatment, then run carbon or do large water changes to clear residual medication. Replacing the sponge mid-outbreak removes the surviving bacteria at the worst possible moment and adds an ammonia problem on top of a disease problem.
What about combining a sponge with a hang-on-back filter in a fry tank?
Common and effective, as long as the HOB intake is covered with pre-filter foam so fry aren't drawn in. The sponge carries the biology, the HOB carries the mechanical polish, and you can service either without touching the other — which is exactly the redundancy you want.
FAQ
How often should I replace the filter media in a sponge filter for a fry tank?
Replace the foam itself only when it degrades — realistically every 6 to 18 months, and often longer. What you should do often is rinse it, roughly every 5–7 days in a typical fry tank, in water siphoned out of the tank. Calendar-based media replacement is a habit borrowed from cartridge filters and it doesn't apply here.
Is it true that sponge filters never need media replacement at all?
Not quite. The foam is not a consumable in the chemical sense, but it is a consumable in the mechanical sense. Repeated squeezing eventually collapses the cell structure and the foam stops springing back. Once it stays compressed or starts tearing, it has lost real surface area and should be replaced.
How do I tell a clogged sponge from a failing air pump?
Pull the sponge and run the lift tube alone. If the bubble stream is weak with the sponge removed, the pump or airstone is the problem. If the stream is strong without the sponge but the tank flow was poor with it installed, the foam needs a rinse. This two-minute test prevents a lot of unnecessary replacements.
What ammonia reading should trigger action in a fry tank?
Anything above zero. Adults tolerate a brief 0.25 ppm; fry should never see it. A detectable reading calls for an immediate 25–30% water change and an ammonia binder, then a hunt for the cause — usually overfeeding, a dead fry in a corner, or a stalled air pump rather than exhausted media.
Should I run one big sponge or two smaller ones?
Two smaller ones, almost always. It costs the same, gives you redundancy if a pump fails, and — most importantly — lets you replace media in halves so the colony never takes a full hit. Staggering the two replacements by several weeks makes every future swap essentially risk-free.
Can I speed up a new sponge's colonization instead of seeding for weeks?
Partially. A bottled nitrifying bacteria product helps and is worth using as a supplement, but it isn't a substitute for time in a working tank. The most reliable accelerator is free: squeeze a dirty established sponge over the new one so the mulm and biofilm settle into its pores.
Sources
- EPA — Aquatic Life Ambient Water Quality Criteria for Ammonia
- USGS — Nitrogen and Water
- Florida Fish and Wildlife Conservation Commission — Freshwater Fisheries
- University of Florida IFAS Extension — Ammonia in Aquaculture Systems
- Michigan State University Extension — Aquaculture
- NOAA Fisheries — Aquaculture
- CDC — Water Disinfection with Chlorine and Chloramine
- Oregon State University Extension — Aquaculture and Fish
Related on PULSE
- [Top 10 Sponge Filters for Fry Tanks 2027](/knowledge/pt0402)
- [Top 10 sponge filter benefits 2027](/knowledge/pt0225)
- [Top 10 filter media types 2027](/knowledge/pt0321)
- [Top 10 Fry Food Options 2027](/knowledge/pt0403)
- [Top 10 GFO Media for Phosphate Control 2027](/knowledge/pt0396)
- [Top 10 Media Reactors for Reef Tanks 2027](/knowledge/pt0396)
This page will be disappearing soon. Save it to your device for $1 — or read it free while it is here.
@Kory-White- · if Venmo asks, the last 4 of my number are 2012
 petsTop 10 Gallons of Water Needed for a 75-Gallon Tank in 2027
 pulse-petsTop 10 Aquarium Air Pumps 2027
 pulse-petsTop 10 common fish diseases 2027
 pulse-petsTop 10 Rainbow Shark Semi-Aggressive Fish 2027
 pulse-petsTop 10 Betta Fish Tanks 2027
 pulse-petsTop 10 best frozen fish foods 2027
 petsHow much does it cost to spay a large breed dog in the US in 2027?
 pulse-petsTop 10 aquarium tanks under 20 gallons 2027
 petsTop 10 Aquarium Glass Scrapers with Long Handles for Deep Tanks (2027)
 pulse-petsTop 10 desktop aquarium kits 2027