


How do I document pre-existing condition of the space before accepting a warm shell in 2027
Quality
Certified
Before accepting a warm shell, create a time-stamped condition record: a systematic photo and video walkthrough, a written deficiency list, and equipment nameplate shots. Get the landlord to sign it as a lease exhibit within 48 hours of possession. A third-party inspector's report strengthens it, shifting the burden of proof at move-out.
Why warm shell documentation is a legal shield
A warm shell delivers a space that is close to move-in ready for a defined use — typically with HVAC, an electrical panel, restrooms, a ceiling grid, and floor coverings already installed — but not fully built out for your operation. The trap sits in the lease's repair, maintenance, and surrender clauses, which almost always require you to return the premises in the same condition you received them, "reasonable wear and tear excepted." That single phrase is where money is lost. If you have no record of the condition on day one, the landlord's move-out inspection becomes the only record, and every scuff, stain, dent, and crack gets attributed to you.
This is not a hypothetical risk. Commercial landlords routinely bill departing tenants for "restoration" work that quietly covers pre-existing defects, deferred maintenance, and ordinary aging — because the tenant cannot prove those conditions predated the lease. A pre-existing condition report flips the burden of proof. If a defect is in your signed report, you are protected. If it is not, you pay to fix it. Documented, dated, and witnessed evidence beats memory and verbal assurances every time; in disputes over security deposits, surrender obligations, or restoration invoices, arbitrators and judges consistently weight contemporaneous written evidence far above after-the-fact testimony.
Think of it as a pre-move-in inspection for an apartment, but with commercial-scale exposure. A single rooftop HVAC unit carrying a pre-existing refrigerant leak, a compressor near end of life, or a cracked heat exchanger can turn into a four- or five-figure repair. If you cannot prove that condition existed at possession, the surrender clause can make it your bill. The documentation itself is cheap; the disputes it prevents are not. Treat the record as an insurance policy you build once, at the moment of highest leverage — before you have signed away your negotiating position.
The photo and video walkthrough protocol
Your visual record must be systematic and exhaustive, not a handful of hero shots. Work the space on a repeatable grid pattern: stand in each corner of every room and shoot toward the opposite corner so the frames overlap and no wall, ceiling, or floor plane is missed. Then move in for close-ups of every defect — drywall cracks, carpet and tile stains, dents, peeling paint, loose or lifted flooring, water marks on ceiling tiles, rust on diffusers and grilles, failed window seals, and uneven thresholds. A defect you did not photograph does not exist as far as a future dispute is concerned.
Give every close-up a sense of scale by placing a ruler, a coin, or a standard business card next to the defect. Without a scale reference, a hairline crack can read as trivial or as catastrophic depending on the camera angle, and either reading can be used against you. Lighting matters just as much: bring a flashlight or work light and rake it across surfaces at a low angle to reveal cracks, waves in the floor, and shadowed damage that flat overhead lighting hides. Photograph water stains from several angles so the full extent shows.
Record a continuous narrated video in a single pass through the space, stating the date and time at the start and describing each defect as you reach it — for example, "column line B-3, roughly twelve-inch vertical drywall crack, about three feet off the floor." Narration ties the visual to a location and a description no still photo can carry alone. Separately, photograph the nameplate on every major system: each HVAC unit, the water heater, the electrical panel, the fire alarm and sprinkler risers. Those tags capture model and serial numbers and often a manufacture date, which is decisive later if a unit fails and the landlord claims you damaged it.
Confirm your device's date and time are accurate before you begin, and prefer a timestamp app that embeds the capture time and, ideally, location metadata directly into each image. When the walkthrough is done, upload everything to a dated cloud folder named with the property address, share the link with the landlord, and keep a local backup. A shared, dated, unaltered file set is far harder to dispute than photos sitting on one phone.
Building the written deficiency list and condition report

Photos prove condition; a written deficiency list organizes it into something a lawyer, arbitrator, or property manager can act on. Build it as a table or spreadsheet with columns for item number, location, description, severity (minor, moderate, or major), a photo reference, and a landlord-acknowledged yes/no field. Tie each row to the specific image filenames from your walkthrough so any reader can jump from the written claim to the visual proof in seconds. A representative row: "Northeast corner, ceiling tile row 4 — six-inch water stain, active drip observed during rain — Major — IMG_4821.jpg — acknowledged Y."
Go well beyond the obviously visible. Run operational tests on everything: flip every light switch, flush every toilet, run every faucet, cycle the HVAC thermostat through heating and cooling, and open and close every door and window, logging anything that binds, leaks, or fails. Record utility meter readings — electric, gas, and water — with a photo of each meter on the possession date so you are never billed for a prior occupant's usage. Capture measurements that matter to your build-out: clear ceiling height at several points (a dropped grid can hide low clearance), door widths for accessibility, and floor flatness if you plan to install sensitive or heavy equipment.

Do not skip the conditions that are legally the landlord's problem but only if documented. Note visible mold, mildew, pest droppings, or insect activity, since those are health-and-safety items that may require remediation before you occupy. Flag structural observations — foundation cracks, sloping or uneven floors, bulging walls, and ceiling staining that suggests a roof leak. Under most leases these are landlord obligations, but the obligation only bites if you can show the condition existed at delivery.
When the list is complete, print it, sign it, and get the landlord or property manager to sign it as well. Attach it to the lease as a numbered exhibit or execute it as a standalone memorandum of understanding referenced in the lease. If the landlord will not sign, send it by certified mail with return receipt requested and keep the receipt; you have then established constructive notice even without a signature. The severity grades also become negotiating fuel — a stack of "major" items is leverage for a rent credit or an expanded tenant improvement allowance.
Why a third-party inspector pays for itself
Hiring an independent inspector — a licensed architect, a general contractor, or a professional building inspector — is the gold standard because their report carries professional credibility that a tenant's own photos do not. The fee is typically modest against the liability at stake, and the deliverable is built to survive scrutiny. A good inspector brings tools you do not have: a moisture meter to find hidden water intrusion behind finishes, an infrared camera to reveal thermal anomalies such as missing insulation or electrical hot spots, a borescope to look inside wall cavities, and a laser level to quantify how far out of flat a floor really is.

The output is a formal report with annotated floor plans, color-coded defect maps, and professional photographs — a document a judge or arbitrator will take seriously as an exhibit, not a phone album. Just as valuable, an experienced inspector catches latent defects you would miss: an HVAC system undersized for your intended occupancy or equipment load, a roof with only a few years of service life remaining, or an electrical panel already near capacity that cannot support your build-out. Those are pre-existing conditions that shape both your restoration exposure and your operating risk, and finding them before you sign is the whole point.
Ask the inspector to attach a rough repair cost estimate to each defect. That turns the report into a negotiation instrument: you can request that the landlord fix major items before possession, or convert their cost into a rent credit or an increase in the tenant improvement allowance. If the rooftop unit needs a significant repair, the time to make it the landlord's expense is before your signature is on the lease, not after. Have the inspector certify that the report is accurate and complete to the best of their professional judgment, deliver it as a PDF with intact metadata showing author and creation date, and share it with the landlord with a request for written acknowledgment within ten business days.
The lease language that makes your record enforceable

Documentation only bites if the lease points to it. Before you sign, push for a pre-existing condition acknowledgment clause stating that the tenant's condition report, attached as an exhibit, accurately reflects the premises as of the possession date and that the landlord agrees to it. That single clause forecloses the later argument that your report is inaccurate or self-serving. Pair it with a repair-and-maintenance carve-out that expressly relieves you of any duty to repair or restore items identified in that report — language along the lines of "Tenant shall have no obligation to repair or restore any condition identified in the Pre-Existing Condition Report attached hereto."
Define the surrender standard precisely. Rather than the vague "same condition as received," write the standard as "the condition documented in the Pre-Existing Condition Report, reasonable wear and tear excepted." That eliminates the interpretive gap landlords exploit at move-out. Add a dispute-resolution mechanism requiring the landlord to give written notice of any alleged damage within a defined window after surrender — thirty days is common — accompanied by photographic evidence; if they cannot show the condition was not pre-existing, you are not liable. Finally, negotiate an inspection-rights clause letting you conduct a joint walkthrough with the landlord roughly sixty days before lease expiration, with both parties signing an updated condition report then, so there are no ambush claims at the very end.
A landlord's standard lease form will never volunteer these tenant-friendly protections — you have to ask for them, and the ask is easiest before signing when you still hold leverage. Have a commercial real estate attorney draft or review the clauses; the legal fee is a fraction of a single disputed restoration invoice. The combination of a signed condition report and lease language that references it converts a future he-said-she-said into a contract question with a documented answer.
What to do when the landlord won't sign
You cannot compel a landlord to sign anything, but you can still build an effectively irrefutable record. If they refuse the condition report, send it by certified mail with return receipt requested; the paper trail proves you delivered it and they received it, establishing constructive notice even without a countersignature. Document the refusal itself — note the date, time, and names of everyone present, and if appropriate capture the representative declining to sign. That refusal becomes evidence of the landlord's unwillingness to acknowledge conditions they can see.
Escalate past the property manager, who often simply lacks signing authority, by routing the report to the landlord's attorney with a request for written acknowledgment; counsel usually understands the stakes better than a leasing agent. If a signature is truly off the table, propose a softer lease clause — "Landlord acknowledges that Tenant has provided a condition report dated [date] and does not dispute its accuracy" — which is weaker than a signed exhibit but still creates a contractual record. For high-value spaces, you can hire a notary or a court reporter to witness the walkthrough and produce a sworn affidavit of condition, adding legal weight without the landlord's cooperation.

Read the refusal as data about the relationship. A landlord who resists documenting condition at the friendliest moment of the deal is signaling how they will behave over repair disputes, rent escalations, and renewal. If the lease does not prohibit it, consider installing your own cameras to record ongoing condition during tenancy, and weigh whether a landlord this uncooperative is worth the tenancy at all — a hostile landlord is a real business risk. The objective is never to win a fight; it is to make the fight unwinnable for the other side, and thorough documentation is how you get there.
Related questions
How soon after taking possession should I finish documentation?
Complete the full photo and video walkthrough before or at the moment of possession, and deliver the signed deficiency list to the landlord within 48 hours. Waiting weakens your claim, because the landlord can argue any documented defect appeared during your early occupancy rather than before it.
Does a warm shell condition report protect me from wear-and-tear charges?
Yes. The report establishes the day-one baseline, and most leases exclude reasonable wear and tear from restoration duties. Landlords may still attempt to bill for fading paint or minor scuffs, but your dated baseline lets you show the true starting condition and rebut inflated restoration claims.
Is a phone camera enough, or do I need a professional?
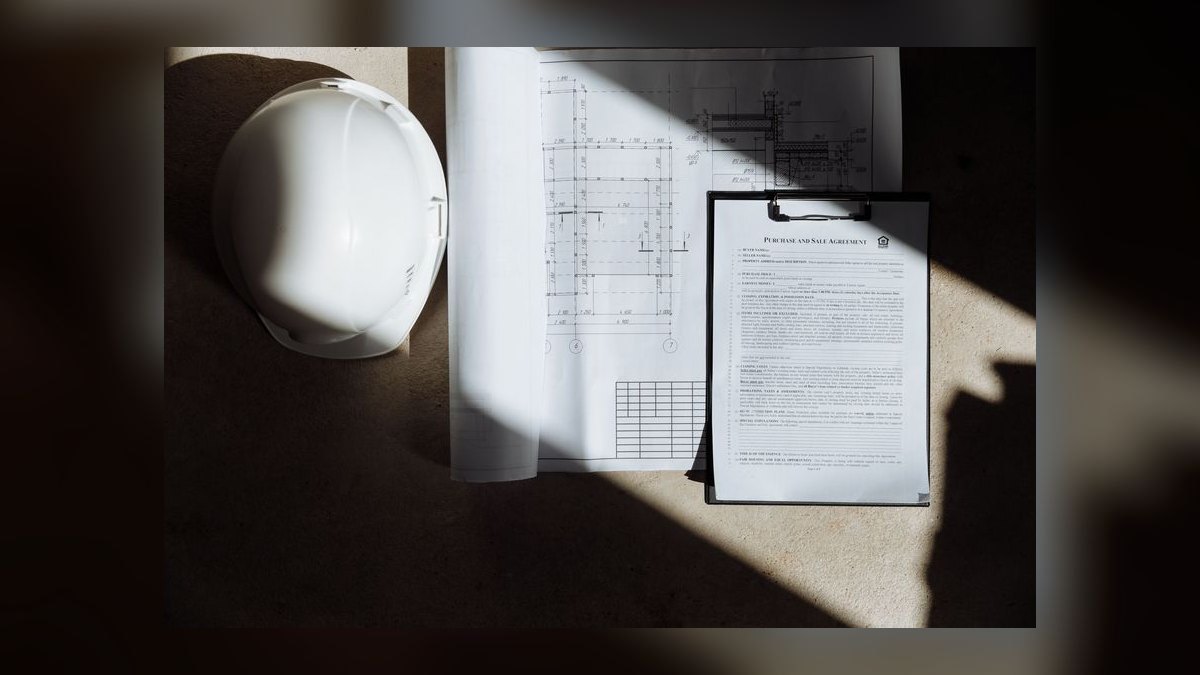
A phone works for the visual record if you ensure accurate timestamps, systematic coverage, and a matching written log with cloud backup. For anything beyond a small space, add a third-party inspector — their tools find hidden moisture, thermal, and structural defects, and their report carries far more weight in a dispute.
How long should I keep the condition documentation?
Keep it for the entire lease term plus at least three years after surrender. Restoration disputes can surface long after move-out, particularly once a new tenant occupies the space and raises damage claims that a landlord may try to push back onto you.
FAQ
Do I need a professional inspector for a small 1,000-square-foot space? It is still worth it. Even a small footprint can hide costly defects — a failing rooftop HVAC unit, a roof near end of life, or an overloaded electrical panel. A professional report typically costs a fraction of a single major repair and gives you credible, dispute-resistant evidence.
Can I rely on my phone camera alone? Phone photos are acceptable if you verify timestamp accuracy, cover the space systematically, and pair the images with a written deficiency log and a cloud backup. A phone alone is risky — files can be lost, and a single unshared album is easier for a landlord to dispute than a dated, shared record.
What if I discover a defect after I have already moved in?
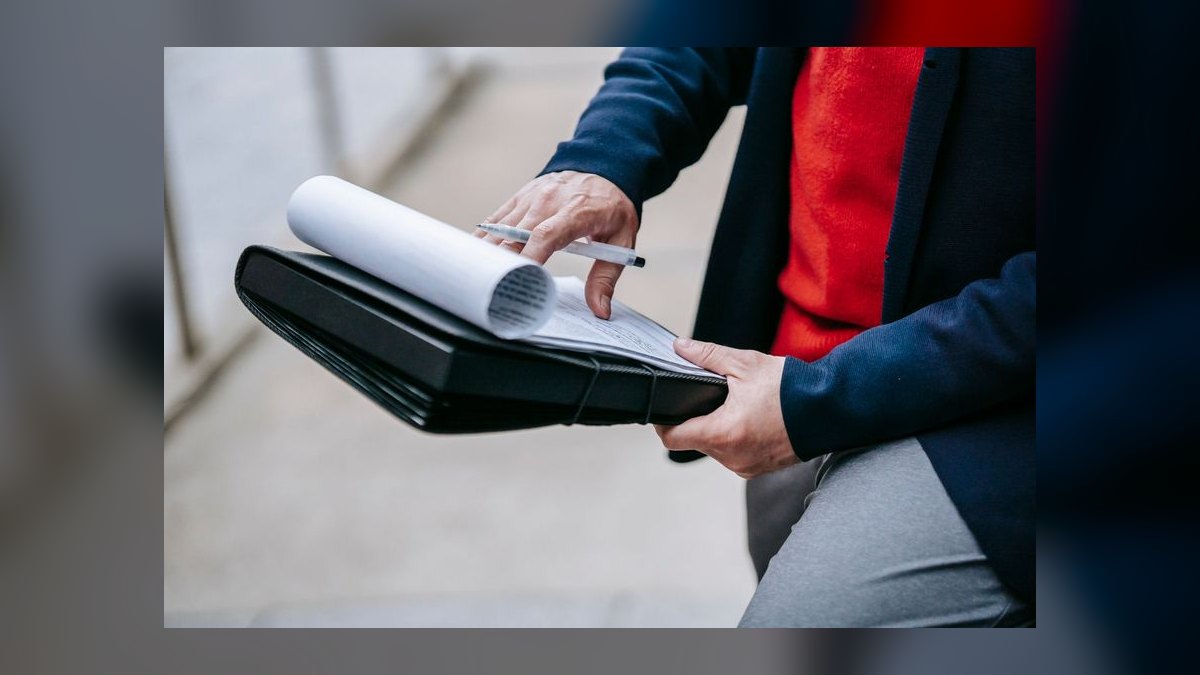
Document it immediately with photos and a scale reference, then notify the landlord in writing within 48 hours. Most leases require prompt written notice of defects to preserve your rights, and quick contemporaneous documentation keeps the defect credibly separated from your own use of the space.
Does the documentation protect me against normal wear and tear? Yes. Your report sets the move-in baseline, and reasonable wear and tear is typically excluded from restoration obligations. The landlord may still attempt charges, but the baseline lets you demonstrate the actual starting condition and push back on anything billed beyond ordinary aging.
What happens if the landlord's move-out inspection contradicts my record? If your report is signed, dated, and supported by referenced photos, you hold the stronger evidence. Request a joint re-inspection with both parties present. If that fails, your documentation becomes your primary defense in negotiation, arbitration, or court, where contemporaneous evidence outweighs after-the-fact assertion.
Can documentation help me negotiate before I sign? Absolutely. A deficiency list graded by severity, especially one backed by an inspector's repair cost estimates, is leverage. Use it to request landlord repairs before possession, a rent credit, or a larger tenant improvement allowance — the strongest moment to extract concessions is before your signature is on the lease.
Sources
- https://www.ifma.org/
- https://www.boma.org/
- https://www.aia.org/resources/6076-contract-documents
- https://www.nar.realtor/commercial
- https://www.usgbc.org/
- https://www.rertable.org/
- https://www.ccim.com/
- https://www.sior.com/
Related on PULSE
- How do I document the space's condition with photos the landlord can't dispute?
- How Do I Get the Landlord to Deliver the Space in Better Condition (Warm Shell vs Turnkey)?
- How do I handle asbestos or mold discovered midway through a landlord's warm shell delivery
- As-Is vs Warm Shell vs Turnkey: Which Delivery Saves Me the Most?
- What's the cheapest way to add a private restroom in a retail shell space
- What's the cheapest way to finish a raw shell space for a small retail store?
This page will be disappearing soon. Save it to your device for $1 — or read it free while it is here.
@Kory-White- · if Venmo asks, the last 4 of my number are 2012
This page is gone.
This one is off the shelf now. $1 keeps it on your phone for good — the whole page, pictures and diagrams included.
 boHow do I negotiate a lease that allows me to recoup buildout value upon sublease in 2027
 boHow should I structure a lease to reclaim buildout value if I'm evicted for redevelopment in 2027?
 boWhat happens to my buildout schedule if the landlord's lender withholds approval in 2027?
 boWhat Are the Good and Bad Clauses in a Commercial Lease in 2026?
 boCan I get the landlord to reimburse my moving and storage costs during the buildout in 2027
 boHow do I negotiate a clause that credits my TI allowance against future rent if I underspend in 2027
 boHow do I calculate the true cost of using the landlord’s preferred GC versus my own in 2027
 boHow do I force the landlord to pay for an independent cost estimator in 2027?
 boHow do I get the landlord to pay for structural upgrades like HVAC or roof repairs in 2027?
 pulse-buildoutsWhat are the most common mistakes in Buildouts in 2027?