


How do I document the space's condition with photos the landlord can't dispute in 2027?
Quality
Certified

Photograph the space during a joint walkthrough before moving in, with the landlord present. Use a timestamp-camera app that preserves EXIF metadata, include a ruler for scale, and shoot wide-then-close on every defect. Pair each image with a signed, dated condition report both parties acknowledge in writing.
The joint move-in inspection that prevents disputes
The single most effective defense against a deposit dispute is a joint move-in inspection: you and the landlord (or their property manager) walking the empty space together, on the day you take possession, before a single box, desk, or pallet enters. The reason it works is simple — a landlord cannot later claim damage was "yours" if they personally stood in the room and watched you photograph it as pre-existing.
Schedule it in writing and treat it like a real appointment, not a courtesy stop. Block ninety minutes for a typical office suite or small retail bay; a larger or older space with mechanical rooms and multiple restrooms can take two to three hours. Rushing is how defects get missed, and every missed defect is a line item the landlord can charge back to you at the end of the term.
Bring a defined kit so you are not improvising: a printed floor plan with numbered zones (Zone A1, A2, B1, and so on), a camera or phone running a metadata-preserving app, a clipboard with a pre-printed condition report form, a tape measure, and a small level to document out-of-plumb walls or sloping floors. Give the landlord's rep a copy of the floor plan at the start so both of you are annotating the same map.
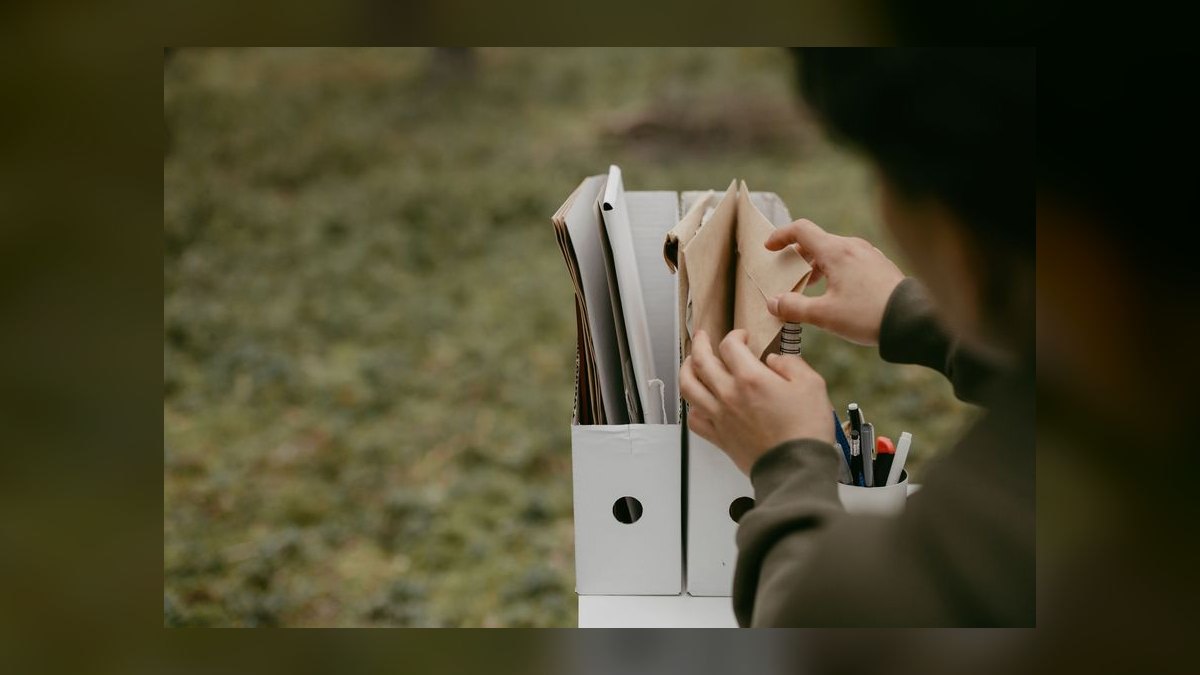
Walk the space in a fixed direction — start at the main entrance and move clockwise, room by room, never doubling back randomly. This creates a logical sequence in your photo numbering that mirrors the physical walk, which makes the set almost impossible to attack as staged or reordered. In each zone, call out defects aloud so the rep hears them: "hairline crack, drywall, above the north window — logging that as Photo A1-004." Verbalizing it turns a silent photo into a shared observation.
At the end, both parties sign and date the condition report on the spot. If the landlord's rep refuses to sign, do not argue — note the refusal directly on the form ("landlord representative declined to sign, 9:40 a.m."), photograph that notation, and mail them a copy the same day. A documented refusal is nearly as strong as a signature, because it proves you offered them the chance to agree and they walked away from it. That single fact tends to carry real weight in mediation or small-claims court.
A forensic photo protocol that holds up
Casual phone snapshots lose disputes because they are trivially challenged: "How do I know when that was taken? How do I know it wasn't edited?" Your protocol has to preempt both questions before they are asked.

Start with metadata. Use a dedicated timestamp-camera app that embeds date, time, and often GPS coordinates directly into the image and its EXIF data, rather than the default camera roll, and never route photos through messaging or social apps that strip metadata on export. Keep the original, unedited files — the raw image is the evidence, and any cropping or brightening you do belongs in a separate annotated copy so the pristine original is always available for inspection.
Put a reference object in every close-up. A rigid ruler or tape measure proves scale so a two-inch scuff cannot be inflated into a two-foot gouge. A gray or color calibration card documents true lighting conditions and defends against the claim that a shadow was actually a stain. The old-school move — a folded newspaper or a phone showing that day's date in frame — still works as a crude but effective timestamp anchor when you want redundancy on a high-stakes shot.
Shoot in a consistent three-tier pattern for every zone: a wide establishing shot showing all four walls, the ceiling, and the floor; a medium shot of any wall or feature with visible wear; then tight close-ups of each specific defect with the ruler in frame. This gives a reviewer context and detail in the same sequence, so there is no ambiguity about where a close-up was taken.
Document every surface, not just the obvious ones — walls, floors, ceilings, windows, doors, baseboards, outlets, switches, HVAC vents, plumbing fixtures, and any built-in furniture or millwork. Do not skip the unglamorous rooms: mechanical closets, restrooms, kitchenettes, and storage areas are exactly where landlords find charges later. Photograph the ceiling grid specifically — missing or stained tiles are one of the most common post-leak disputes — and capture the "before" state of anything you plan to alter, so you can later prove you restored it.
The written condition report that ties it together

Photos alone are ambiguous — a reviewer months later cannot tell whether a shot is the northeast corner of the conference room or a closet down the hall. The written condition report is the narrative that anchors every image to a specific place and a specific, measurable condition, and it is what turns a photo folder into legal evidence.
Keep the format plain: a table with a row per zone. Column one is the zone number and room name (Zone A1 — Main Office). Column two lists the photo reference numbers for that zone (Photos A1-001 through A1-006). Column three describes the condition in objective, measurable language. Write "carpet has a dark stain roughly six inches across near the north wall; drywall shows a hairline crack about eight inches long above the window" — never the useless "good condition," which concedes ground you cannot get back.
Objective language is the whole point. Adjectives like "worn," "dirty," or "damaged" are arguable; a location plus a measurement is not. The more precisely you pin a defect in space and size, the harder it is for the landlord to reclassify it as normal wear and tear or, worse, as damage you caused. Sign and date every page, and get the landlord's rep to sign each page too, or at minimum initial the last page acknowledging receipt of the full set.

Make three copies at the walkthrough: one for you, one for the landlord, and one for your attorney or broker. Most jurisdictions give the other party a reasonable window to object to a condition report; if they receive it and stay silent past that window, your report tends to become presumptively correct, which flips the burden onto them to prove you wrong. That presumption is worth far more than the ten minutes the table takes to fill in.
If the landlord will not sign, send the report by certified mail with return receipt requested, attaching the photos or a link to them, with a short cover note stating you will rely on it as your record of move-in condition. The return receipt establishes delivery, and delivery plus silence is the combination that builds the presumption in your favor. Store one signed copy somewhere you will still find it in three years — the typical statute of limitations for a contract dispute — because a move-out fight can surface long after you have mentally closed the book on the space.
Building a digital chain of custody
Great photos are worthless if the landlord can plausibly argue you shot them last week to manufacture a defense. Chain of custody is how you prove the files existed, unaltered, on the day of the walkthrough.
Upload the full set to cloud storage the same day — Google Drive, Dropbox, or a property-management platform — because these services log a server-side upload timestamp you do not control and cannot fake. That independent timestamp is often more persuasive than the EXIF data inside the image, precisely because it lives on a third party's infrastructure rather than on your device.

Where you can, generate a cryptographic hash (MD5 or SHA-256) for each file. A hash is a unique fingerprint of the exact bytes; change a single pixel and the hash changes completely. If you record each file's hash on the day you upload and the originals still match those hashes later, you have mathematical proof the images were never edited. Some storage platforms compute these automatically; even a free hashing utility run once and saved alongside the files is enough.
Create an email trail on the same day. Send the landlord a link to the folder with a short, factual note: "Per our walkthrough today, here are the timestamped condition photos for the space." The email itself carries a server timestamp, and it forecloses the common "I never received anything" defense. Keep the sent message — do not delete it when you clean out your inbox.
Keep a local backup, too. Copy the entire folder, with its original structure and filenames, onto an external drive the same evening. Cloud accounts get closed, links expire, and landlords have been known to claim a shared link "didn't work." A redundant offline copy costs nothing and removes a whole category of excuses.
Finally, discipline yourself never to edit originals. If you need to circle a defect or add an arrow, do it in a separate annotated PDF or a copy clearly labeled as marked up, and preserve the untouched raw file. In any dispute, the original is the evidence and your annotations are merely commentary — mixing the two hands the landlord an argument that you altered the record.
When the landlord won't cooperate

Some landlords dodge the joint inspection with a friendly-sounding brush-off — "we'll do it later," or "just send me the photos." Treat that as a red flag, not a convenience, because it usually means they would rather keep the move-in condition undocumented so they can charge you at the end.
Start by papering the attempt. Send a dated email or certified letter requesting a joint walkthrough within a reasonable period after possession, and keep the proof of delivery. Even if they never show, that request establishes that you tried to do this the right way and they declined, which reframes any later dispute as their failure to participate rather than your failure to document.
Then proceed alone, but not truly alone — bring a witness. A colleague, a contractor, a broker, or ideally a notary walks the space with you, watches you shoot, and signs the condition report attesting to what they saw and when. A signed third-party witness statement is dramatically harder to dismiss than your unaccompanied word, because it introduces someone with no stake in the deposit.
For high-value or complex spaces — large square footage, premium finishes, extensive mechanical systems — consider hiring a commercial property inspector. They produce a professional report with high-resolution photos and a certified statement of condition, which functions almost like expert testimony. The fee is modest measured against a large deposit or a five-figure end-of-lease restoration charge, and their independence is exactly what makes the report credible.

Send whatever you produce by certified mail with return receipt requested. Certified delivery creates a legal presumption that the landlord received your documentation, which matters enormously if they later claim ignorance. Stack the evidence: a signed witness statement, an independent inspector's certification if you paid for one, timestamped cloud uploads, and a certified-mail receipt together form a record most landlords will not want to test in front of a mediator or judge. Faced with that stack, the majority fold before the dispute ever reaches a hearing, because the cost and risk of losing outweigh the deposit they hoped to keep.
The move-out comparison that closes the loop
Move-in documentation is only half the system; it pays off at move-out, when the landlord inspects for damage and decides whether to return your deposit. The strongest possible position is a matched pair of photo sets — same space, same angles, same method — that lets anyone see at a glance what changed and what did not.
Repeat the entire protocol on the day you vacate. Schedule a joint move-out inspection, use the same numbered floor-plan zones, and shoot every surface from the same angles as your move-in set, with the same ruler and, where possible, similar lighting and time of day. Consistency is what makes the comparison airtight: when the wide shot of Zone A1 at move-out lines up cleanly against the wide shot at move-in, a reviewer needs no expertise to judge it.
Note any genuinely new damage honestly, and label whether it is normal wear and tear — which most leases and many statutes make the landlord's responsibility — or actual tenant damage you may owe for. Carpet flattening in traffic lanes, minor nail holes from wall hangings, and faded paint are typically wear; a burn, a large stain, or a broken fixture usually is not. Being straight about the difference protects your credibility on the items that actually are pre-existing.

Get the landlord to sign off on the move-out condition report just as they did (or declined to) at move-in, and apply the same fallbacks if they won't: witness signature, certified mail, same-day cloud upload. When the landlord asserts damage that your move-in photos already show as pre-existing, produce the side-by-side comparison. Identical framing removes the argument entirely, and many landlords drop questionable claims the instant they see their own charge contradicted by a dated, matched image. That is the payoff for all the discipline at move-in: a deposit dispute that ends before it becomes a fight.
Related questions
Is a smartphone good enough, or do I need a real camera?
For most spaces a modern smartphone running a metadata-preserving timestamp app is sufficient. For high-value leases, a dedicated camera with an embedded date stamp removes any argument about tampering and produces higher-resolution close-ups that hold up better when zoomed.
What if I discover hidden damage after move-in?
Document what you can see at the walkthrough, and note in the condition report that you reserve the right to amend it for defects behind walls or under flooring. If you later find mold or structural issues during buildout, photograph them immediately and notify the landlord in writing that day.
Can video replace photos?
Video is a useful supplement but not a replacement. Still images with a ruler and timestamp are easier to zoom into and compare side by side, which is what wins disputes. Shoot a walkthrough video if you like, but never skip the numbered stills.
How long should I keep the records?
Keep photos and reports at least three years after the lease ends, roughly the statute of limitations for many contract disputes. Store them in a clearly labeled cloud folder ("Lease — 123 Main St — Condition Photos") with an offline backup.
Does this apply to subleases and shared spaces?
Yes. In a sublease you are documenting condition for both the sublandlord and the original landlord. In a shared space, photograph common areas and your specific suite separately so responsibility for each is unambiguous.
FAQ
Do I really need the landlord physically present at the walkthrough? It is the strongest option because their presence forecloses the "that damage is yours" argument, but it is not strictly required. If they won't attend, proceed with a witness, document your request for a joint inspection, and send the results by certified mail so the record still shows you offered them the chance.
What if the landlord insists on taking their own photos instead?

Politely decline a split-set approach. Two independent sets let each party cherry-pick angles, which invites exactly the dispute you are trying to prevent. Insist on one shared set, shot with one camera, that both parties can sign off on and reference from the same floor plan.
Why does metadata matter so much? Metadata — embedded date, time, and sometimes GPS — is what proves when a photo was taken. Without it, a landlord can claim you shot the images after the damage occurred to build a defense. Apps that preserve EXIF data, plus an independent cloud upload timestamp, defeat that argument.
How precise does the written report need to be? Precise enough that a stranger could locate each defect. "Good condition" is worthless; "six-inch stain near the north wall of the conference room, carpet" is defensible. Location plus measurement is what converts an arguable adjective into an objective, hard-to-dispute fact.
What counts as normal wear and tear versus my responsibility? Wear from ordinary use — traffic-lane carpet flattening, minor nail holes, faded paint, light scuffing — is typically the landlord's cost. Burns, large stains, broken fixtures, and holes beyond small nail marks usually fall on the tenant. Leases and local law vary, so read your specific clause.
What is the single most valuable step if I only do one thing? The joint move-in inspection with a signed condition report. Everything else — metadata, hashes, cloud uploads — reinforces it, but a landlord who stood in the room and watched you document a defect as pre-existing has almost no path to charging you for it later.
Sources
- https://www.nolo.com/legal-encyclopedia/tenant-move-in-checklist.html
- https://www.hud.gov/topics/rental_assistance/tenantrights
- https://www.sba.gov/business-guide/manage-your-business/buy-lease-commercial-space
- https://www.nar.realtor/commercial
- https://www.americanbar.org/groups/real_property_trust_estate/
- https://consumer.ftc.gov/
- https://www.usa.gov/renting
- https://www.irs.gov/businesses/small-businesses-self-employed
Related on PULSE
- How do I document pre-existing condition of the space before accepting a warm shell
- How Do I Dispute a CAM True-Up Bill I Disagree With?
- How Do I Get the Landlord to Deliver the Space in Better Condition (Warm Shell vs Turnkey)?
- How do I avoid paying for structural upgrades the landlord should cover to bring the space to code
- How do I force the landlord to pay for my temporary space while my buildout runs over schedule
- Can I trade a higher rent for a fully finished turnkey space with no out-of-pocket
This page will be disappearing soon. Save it to your device for $1 — or read it free while it is here.
@Kory-White- · if Venmo asks, the last 4 of my number are 2012
This page is gone.
This one is off the shelf now. $1 keeps it on your phone for good — the whole page, pictures and diagrams included.
 boWhat is the typical markup a landlord's GC adds to material costs in 2027?
 boWhat's the average per-square-foot cost for a restaurant buildout with full kitchen in 2027?
 boHow do I get a performance bond from the landlord’s contractor for my buildout in 2027
 pulse-buildoutsHow much does Buildouts cost in 2027?
 boWhat’s the smarter move—signing a longer lease for more TI or a shorter lease for less in 2027?
 boWhat’s the cost difference between a drywall partition office and a glass wall office in 2027
 boCan I get a landlord contribution for my furniture, fixtures, and equipment in 2027?
 boShould I demand the landlord provide a third-party cost breakdown for every line item in their GC bid in 2027
 boWhat’s the cheapest way to finish a raw shell space for a small retail store in 2027?
 boWhat's the cheapest framing material that meets code for a private office buildout in 2027?